The Fog In Prague Is Great If You're A Frog
The Fog In Prague Is Great If You're A Frog
One of the very best missions in H&D. It's hard, but not in any unreasonable way; the problems all can be solved without any bits of arcane knowledge or trickery - you just have to have a mastery of the H&D skills, and a good eye for fire and cover, and a cool patient head. While it does have a few slightly farfetched aspects, there's no arrant nonsense; most of it is at least theoretically possible. And the set is beautifully rendered.
Maybe it just seems this good after C5, but I think it's a great mission and I wish there were more in its class.
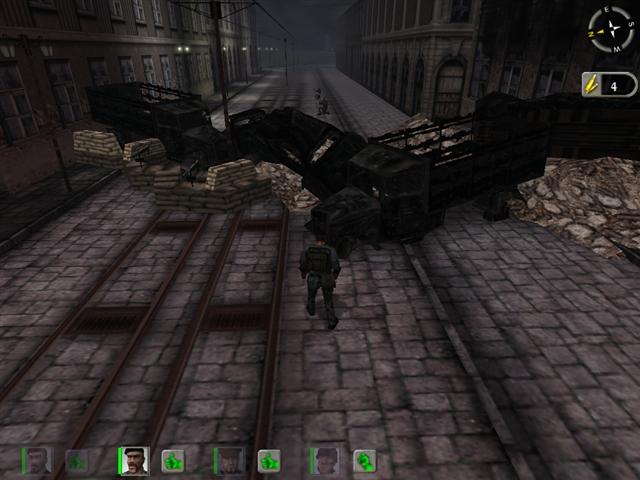
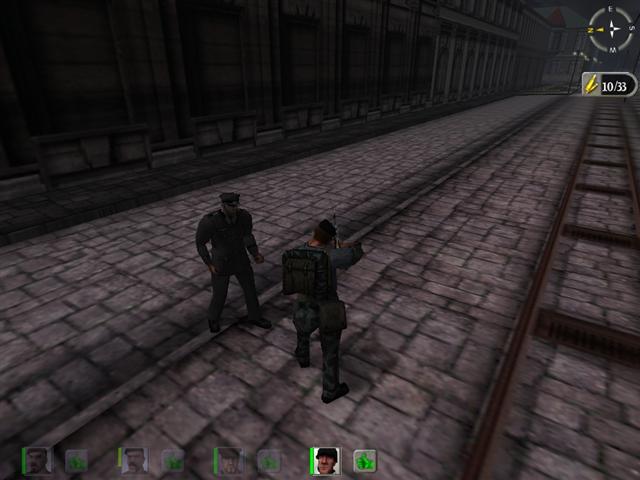
MISSION: You're escorting a defecting German scientist (dressed in full Nazi uniform, and looking remarkably like Col. Steiner; all right, it's got a few silly aspects too) out of Prague, which is about to fall to the advancing Red Army. Soviet troops are across the river and probing into the city, and the situation is pretty chaotic.
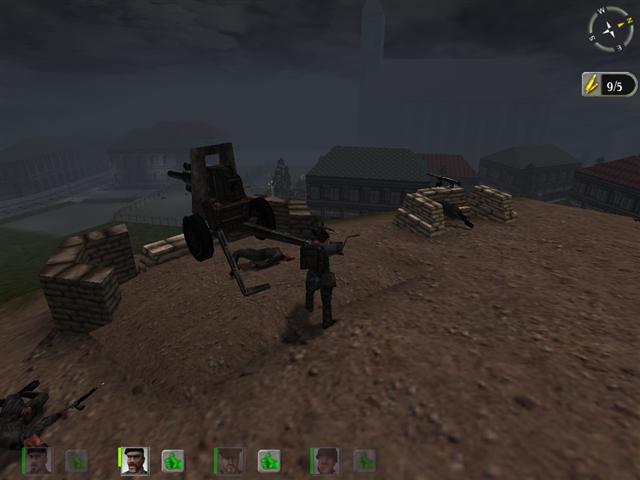
The briefing also tells you that you have to destroy this howitzer that's positioned on a hill above the city, but in fact this is not one of the mission requirements; that's just more briefing bullshit. The gun rarely if ever fires at all and is not a big problem - though you do have to get the gun crew, because they're in a position to bring small-arms fire on your escape route.
The one and only mission is to get your defector to the escape point. That's it. Never mind anything else the briefing tells you.
CONDITIONS: Early morning hours, still dark at the start of the mission but gradually getting lighter. Cloudy sky. And a God-damned bell tolling constantly in the background to drive you completely out of your scalp.
THE OPPOSITION: Germans scattered all over town in various situations. Some of them man barricades and machine gun posts; some of them lurk up on high places and snipe. Some of them are dug into a position on top of the hill overlooking town, and several of the bastards are just wandering around murdering civilians but will be glad to murder you too if you give them a chance.
One artillery piece, mostly irrelevant. One tank stuck in a smashed-in store front off the main square, highly relevant. No moving armor. No mines.
PERSONNEL: This one calls for some first-class men. Here is where you can start using some of the top men you've been holding back. They need to have excellent shooting skills and reactions; they also need to have pretty good endurance, because the chances of getting wounded are very high.
You really should figure on using these same men in the next mission, because this is another set that goes together. However, you could probably figure out some rationale for making replacements or substitutes - you had some people waiting on the road out of town, say.
McGatt is excellent at this. So are Wooley and Whintson. Vanguard is another fine choice. While strength isn't all that vital, it helps if a man is strong enough to carry a Panzerfaust in addition to his regular weapons, because you may need several. Several chances to get hit, so no low-endurance types like Web or Switcher.
EQUIPMENT: Everybody gets an MP-44, a rifle, a Panzerfaust, and plenty of ammo. Grenades of both types.
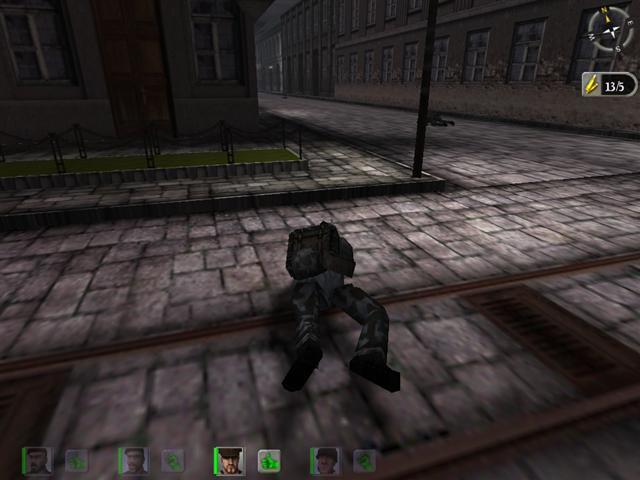
AT THE START: You're standing at the end of a street in Prague. The scientist is standing behind you. Nobody's shooting at you or in a position to do so.
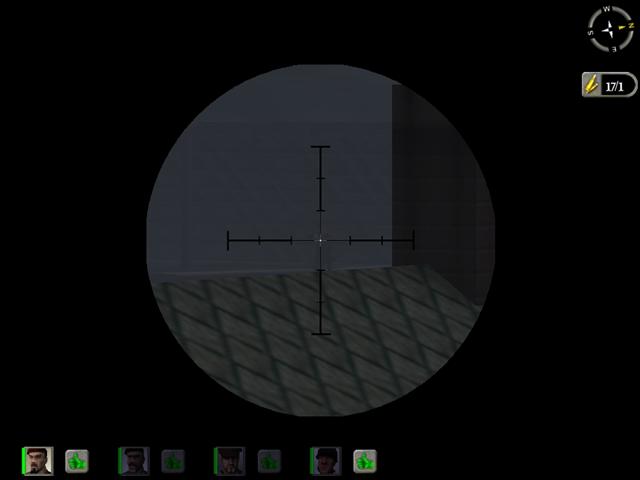
PROCEDURE: First off, move over to the right side of the street and run eastward. As you approach the intersection, stop and lie down and snake your way forward, looking through your rifle scope. Farther down the street is a barricade, made up of wrecked vehicles with some sandbags and a machine gun nest. There are two Germans manning it. Get them and make sure they're done for.
Move backward a little way and cross the street to the left and run toward the intersection. Stop and use the scope to study the area to the right of that barricade. There's a space between the buildings where a wall seems to have partly fallen down, and there's a sniper up on top of the broken wall. You probably can't see him yet, but check because exact his location will vary from mission to mission. Move on across the intersection, stopping and checking frequently - don't worry, right now the intersection's safe - and if you still haven't seen him by the time you reach the opposite corner, get down and crawl. Stay over to the left side of the street, absolutely do not go to the right, it's not safe. Keep crawling and watching that spot up on top of the ruined wall. Eventually you will see the sniper or, more likely, part of him sticking out. Get him and make sure he stays got.
Now you can get up, but still stay away from the right side of the street - stay to the left of the trolley tracks just to make sure. There's a couple of riflemen on the other side of that barricade and you can't get at them yet so stay out of their line of fire.
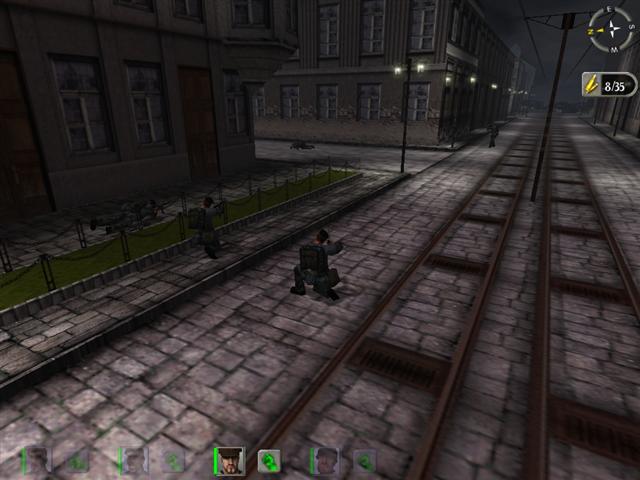
All right, now to move up the troops. Bring them up close to the intersection and over to the left, close to the corner building, where they can command this end of that street that goes off to the north, but where they can't be seen from anywhere along it. Give them guard on the area in front of them, the south end of the street. This is, as you'll have guessed, an ambush. It may not get do do any ambushing but it needs to be set up now anyway.
The last man should give your scientist a follow-me and lead him back up the street until they can go no farther, and then a stop command, so that he stays there. You can't bring him with you; he's impossible about following orders and he'll get himself killed. Just leave him waiting there.
When your ambush is set up, run down the street toward the barricade - still staying on the left - and go almost but not quite to the next corner. Do not cross the intersection or show yourself around that corner; just run up to it and come back. You've just set off a trigger.
When you get back you may find one or more of your men acting like idiots. Say shit a couple of times and settle them down and then have a third-person look up that street.
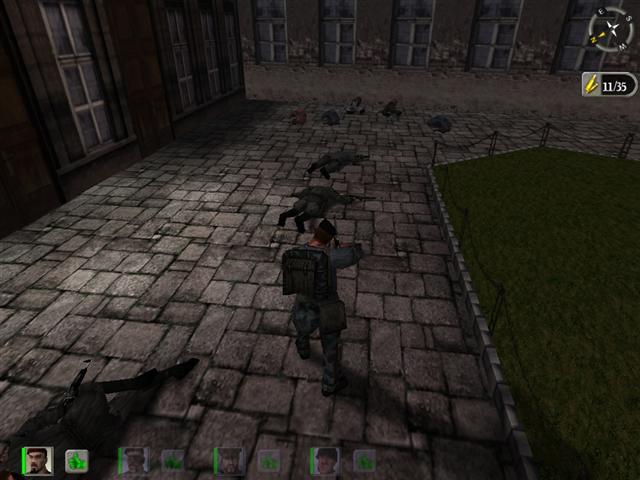
You will see three figures standing there, plus a couple lying in the street. An SS execution squad has just shot some civilians. They're also in your way, so you're going to get to give them what they deserve.
Unfortunately this isn't easy. At the easier levels it's usually possible to bait them into charging into the ambush. At Hard level only one or two of them will fall for it and sometimes it takes some doing even to get that. Still, it's a start; poke your weapon around the corner and fire a quick burst and get back, and most likely that will be enough to cause one to come running and get blown away. Try again and you might get lucky and get a similar reaction out of a second one, though it only happens rarely.
If the other two aren't having any, or if you're really unlucky and none of them rise to the bait, there's no recourse but to go after them. Luckily they tend to spread out, one on either side of the street, so you probably can get one without exposing yourself to the other. I've had pretty good luck getting down flat on the pavement and inching sidewise and shooting them with the rifle. (If you count street lights it will give you a good index to where they are.) One of your men at the other corner will probably have a better shot, and will definitely have better cover because of the layout of the sidewalk.
Once you shoot one, get back and be ready for a charge; this very often sets them off.
With these three dead, you can all move up that street, past their bodies and those of their victims, and pause to regroup.
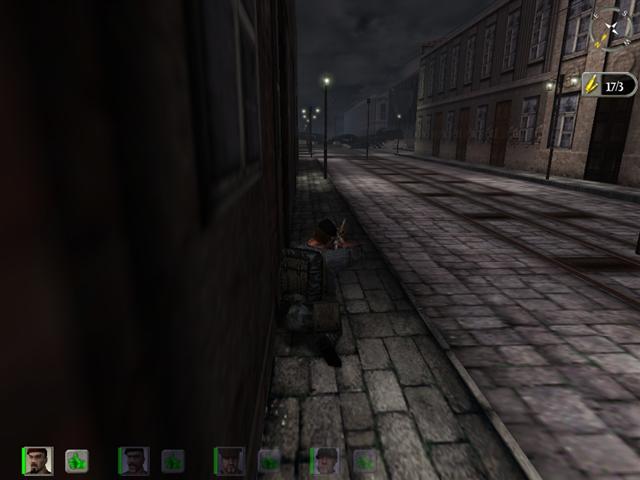
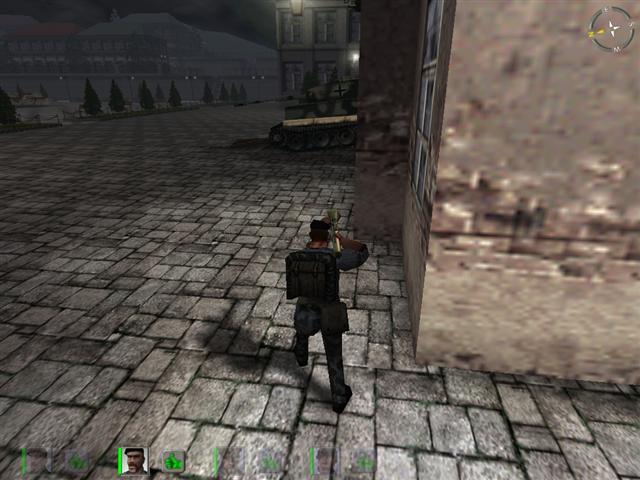
Now you - either in your own character or as the group's top sniper - run on up the street, almost but not quite to the end. Ignore the bridge; if you go across it you will encounter a roadblock manned by your heroic Soviet allies, who may shoot at you.
In the last block of buildings on your right before you reach the bridge, there is an alley. Follow this as it winds and twists; have the MP-44 ready and don't stop to check out any side alleys. Finally you will come out onto a big courtyard and at the far end will be a team of SS bastards in the process of murdering some civilians. Let them have it - make your move fast and give them a long burst, make sure you get them all, they're fast and very aggressive - and then go virtually piss on the bodies. One of the great things about this mission is that you get to shoot people who really have it coming.
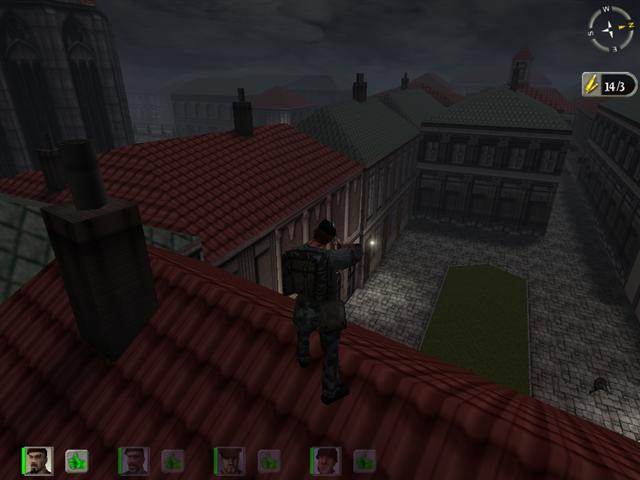
Nearby you will find a ladder going up the side of a building. Climb up it onto a flat rooftop and go over to the shorter ladder nearby.
At this point save your game. You're about to get into something that poses special and unprecedented hazards. To put it plainly, you're going to be up on the rooftops and there's a very good chance you'll fall off and kill yourself, especially if you haven't done this before. So save.
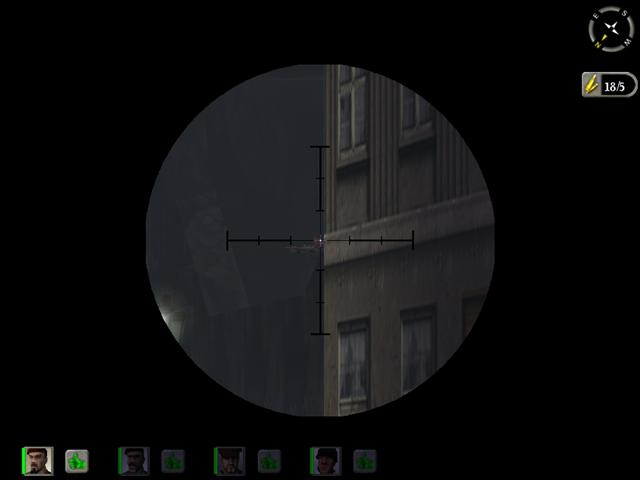
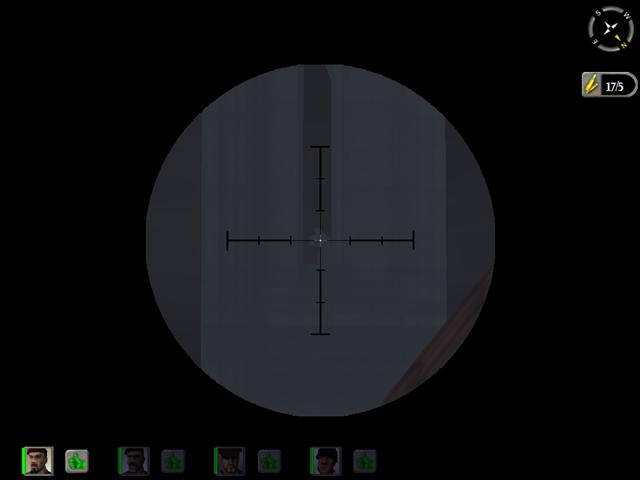
Now go up the short ladder to the first little platform and stop and select the rifle and turn to look at the bell tower of the cathedral nearby. It's got two towers but you want the one on your right as you're looking at it from here.
Zoom in on the tower and you'll find you can see in through this sort of long window. Look for a man standing there. If you're very lucky you'll be able to see him pretty clearly. Take very careful aim and kill him. Wait and make sure he doesn't come up. Not that this necessarily means anything; he's tricky as hell. It's important to get him, because it will make life simpler later on.
There are in fact two men in that bell tower, but it's very unlikely you'll get a chance at both of them from where you are. However, as you move around up on the roofs, from time to time have another look in that direction, just in case.
Now climb up onto the rooftop, very carefully - you just about have to do this in third-person - and move along the ridge and down to the other end of the roof. See that building off to one side, where its roof just barely makes contact at the corner with the one you're on? Yes. Certainly I'm serious. You better save at this point.
Move down toward the point where the two roofs touch. Stay on just as straight a course as you can. As you approach the juncture, hit your run and your jump keys. If you do it right your guy will leap onto the next roof. If you don't he'll plunge to his death below. Yahaha.
When you've got him onto the next roof, stop beside the chimney and move down the roof on the east side and work your way sidewise using the chimney for cover. Come back up on the other side of the chimney and use the scope to study the roofs off to the southwest.
There's a sniper on, or rather in, the roof of that damaged building above the burning streetcar (though you can't see that from here) and he's very hard to spot but it's vital that you get him, because he's covering some people you need to get at.
Take your time, move a little bit at a time; counter-sniper work is a very slow and cautious business. When you do see him you still may not be able to hit him, because of one of those H&D errors, but move until you can - or he may move, once he realizes you're shooting at him, and save you the trouble. (He may shoot at you, too, and if he does he'll probably hit you, so you can't screw around indefinitely.)
When he falls, move up onto the roof crest and study the area till you can see his body. You can't have him alive behind you now.
If you absolutely cannot find him - if you keep moving until you can see that entire torn-open roof and the space underneath, and you're positive he isn't there - it's possible he's fallen. This does happen, believe it or not; you know how clumsy the AIs are, and sometimes the bad guys will fall off things. (I've found them dead as shit at the base of a guard tower, even though nobody had shot at them.) But you better be right or you're going to hurt.
You can then turn and pick a couple of yoyos off the hilltop. You've got to clean that nest out anyway eventually and this will give you a start.
Once you've done that, turn around and head back down. It is possible to move onto the next red rooftop (you can't walk on the green ones) and snipe the men by that burning streetcar, but it's dangerous - you make a hell of a target up there - and unnecessary; there are easier ways of dealing with them.
Save again and go back to the first rooftop - careful there, Spiderman - and along the platform and down the ladders. Pause on the lower platform and check that bell tower again. Go on down to the flat rooftop.
Now save for sure, because getting down that ladder is a very frustrating and buggy process. That balustrade confuses the AI; it's difficult to get him to start down. You have to make him climb up onto it without walking off the edge, and then turn him around, and then move him back and forth and side to side until you hit upon the position that allows him to respond to the Use command and start down the ladder. Even then, move him in little increments by tapping the reverse key; don't try to descend in one rush, now and then he loses his grip and falls.
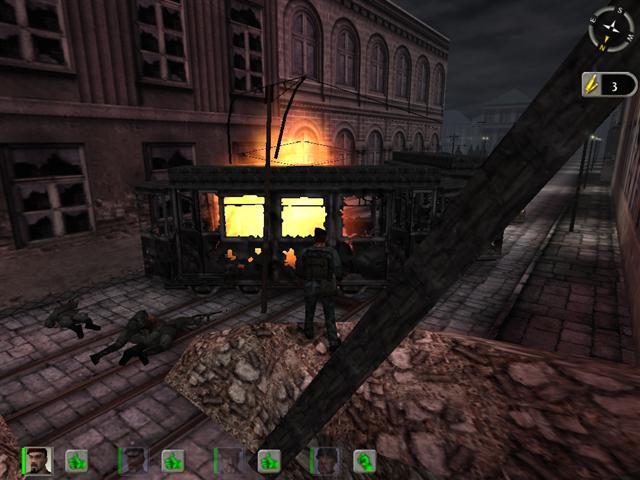
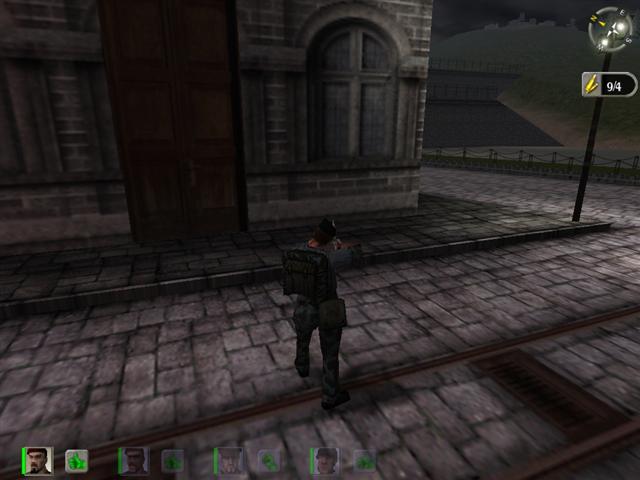
Once he's down you can return to more normal activities. Go back the way you came through the alley until you see a little side alley opening onto a street beyond. Move very cautiously down this until you see some smoke and flames and a lot of piled-up rubble. There are three Germans in a defensive position behind the rubble and you need to take them out.
Before you start, bring one of your men up the street to the corner where he can sight down that street past the heaps of rubble. He can't see the Germans, but that's OK, just leave him there for now.
Get as close as you dare to the mouth of the alley, crouched down, and lob a few grenades over the rubble and see if you can blow those three out of there. It's possible one or more of them may run out into the line of fire of your man up the street. Finish off the job with the MP-44 if necessary and move over by their position.
There are three more Germans on the other side of that burning streetcar. A few potato mashers over the streetcar's roof should fix them nicely. Go past the streetcar with the MP-44 and check to make sure you got them all, but don't go any farther down that street, and go back as quickly as you can, because that tank may fire at you if you hang around.
If you couldn't find the sniper from up on the rooftop, you can go up and look for him now. There's a ladder over near the streetcar and it will take you right up to his little eyrie. Chances are you'll find him lying there somewhere. It's pretty safe to go look; if he were still alive you wouldn't have gotten this far - he'd have killed you while you were jacking around in that alley.
It's a good idea now to gather everyone down by that corner where you first ambushed the SS war criminals. (Leaving Professor Von Weenie back at the start, of course.) Now you can deal with those two on the other side of that barricade up the street. Run down the middle of the street, neither to the right nor left, and up to the barricade. There are two riflemen on the other side in bad need of a couple of potato mashers down their throats. Supply this.
After they're dead, stay there by the barricade and get out your rifle again. Climb onto the sandbags between the two mounted MGs and look off to the east between the truck on the far left and the car next to it. There's a sniper on the embankment off at the far end of the road. Get him. He's hard to see; look between two street lights.
Now you can climb over the barricade and move on down the street, staying over to the right and watching the line of that hill to the left, until you see a couple of men standing on the skyline. Get them both but don't go any farther. The street beyond the next corner is covered by a bunch of riflemen off to the left and we're about to take care of them.
Go back over the barricade (a singularly graceless business; you'll have to use the jump command, which always looks ridiculous) and back up to the intersection, and turn up the street with the burning streetcar at the end. Walk past the block of buildings and when you get to the corner, where the square opens out, move on past it a little way and get down into position and start sniping those jokers off those terraces or decks off on the far side of the square. They're down by some railings and it's not easy to get them all but with patience it can be done. Don't move out too far along the street, remember that tank waiting around the corner.
There will be two riflemen on the upper deck and two on the lower. One of them may come down the stairs and shoot at you across the square, so keep checking those stairs and the area around them - sometimes he'll lie prone to shoot at you and he's hard to spot, especially with all those benches and things in the way.
When you've cleared the snipers off those terraces, you can do something about that damn tank. Here is where you have to deal with whoever's left in that bell tower. If you got both of them from the rooftops congratulations, you're in good shape. If you didn't you've got a problem. And you probably didn't.
One man is going to have to go up that narrow alley next to the barricade, carrying a Panzerfaust, and move out onto the square just far enough to bust that tank. If the snipers have all been silenced this is an easy job. If the one in the bell tower is still in business it can be dangerous.
So unless you're absolutely positively certain you got both of them already, you better make sure. The easiest way to do this is to put a couple of Panzerfausts in that tall window. You may be able to do this from the mouth of the alley if you're quick. You've got four Panzerfausts among you so you should be able to blow him away and still have one left for the tank.
I suppose you could send somebody all the way back around to that courtyard and up that ladder again to try once more to pick him off. If the sniper is watching for targets down on the square he should be visible. But damn, that's a long way and a lot of trouble, and no guarantee it'll work.
I tried once clearing the hill first and then going up there for a shot into the bell tower. Didn't do me any good. He's really well concealed in there.
When you're quite sure you've neutralized that bell tower, it's easy to kill the tank.
At this point you almost control the square. However, there may be a man left alive on that lower terrace; sometimes there is, lying down over to one side where he's hard to snipe. If you can't spot all four bodies on the terraces, better assume there's one still alive.
If there's a sniper left on the terrace, somebody needs to run across the square - staying well back, using those houses on the hillside to block the view from the hilltop - to those steps and a few steps up, and lob a potato masher down the back of his shirt. Don't go any farther up the steps because they're covered from the hilltop.
Which is your last problem area. There are only a few up there but they've got your escape route covered. Most of them can be sniped from the end of the street. The one behind the cannon is hard to get, though, and sometimes there's another one or two hunkered down behind the defenses.
The only sure way to make sure that hilltop is secure is to go up there and take care of it personally. Go around the end of that lower terrace and run up the hill in a crouch, staying below the line of fire from the crest. (It would be a good idea to have one or more of your men covering the hilltop with rifles or MP-44s.) As you get near the top, go flat and go to third person and you should be able to see who's up there without exposing yourself. If there's nobody but the gunner you can just pop up and shoot him, but if you think there might be anybody else, a grenade or two is indicated. Do whatever you have to do but clear that hilltop.
There's nothing to be gained by climbing up onto the hill. The truck won't run and there's nothing up there you need. But if you do go up there and wander too far over the top, you'll trigger a bunch of Germans who will come running down that street on the other side of the hill. If you see them, move back and leave them alone. Left to themselves, they'll run on down the street and hang a right at the bridge and get shot up by the Russians.
(For this reason, before you go up that hill make sure you don't have any people anywhere along or near that street. And, while you might think that street presents a good avenue of attack, you should stay away from it. I've gotten those guys with the MP-44 on a couple of occasions but I've picked up a wound or two that way too. And there isn't anything you can accomplish going up that street that you can't do just as well from other directions.)
You can operate the cannon if you like but it'll be a big disappointment. It just makes a little pop, not even as loud as a champagne cork. And you can't hit the bell tower and if you did the damn bell would keep right on ringing.
Now the order of these last operations is not set in bronze or anything. You can, if you prefer, go ahead and clear the hill, staying clear of the tank's field of fire - which is quite limited - and then clear the bell tower, and save the tank for last. Entirely up to you.
Somebody run on down the road to the exit point, just to make sure it's safe to do so. Somebody else go back and collect Herr Professor and bring him up. Everybody go across the square and out to the exit point.
One more note: don't waste your time trying to use any of the parked vehicles you may see. They're strictly decoration; you can't even get into them. You're going to have to walk - which raises the question of where you got that truck with which you start the next mission, but that's another matter....