Leaving Czechoslovakia In The Broad Daylight
Leaving Czechoslovakia In The Broad Daylight
Customarily the last mission or level in an extended game of this sort will be the hardest. This is not true in the present case; C6M2 is by no means the hardest mission in H&D. It's not even as hard as the one before it. Anyone who has progressed through all the other missions should have the skills to run this one successfully.
But it's not an easy one either. It will take patience and attention to detail, and the ability to use your men as a team.
It's a really good mission, though. It's not as much bat-brained fun as the halftrack adventure or the U-boat job, but it's very satisfying. It does the same thing the last chapter of a good book does: makes you wish for more.
MISSION: Now you've got your goofy-ass defector out of the city, you have to get him on a plane for friendlier skies. The airport is still in enemy hands though they're somewhat disorganized. Soviet patrols are probing the German defenses in this area. You have to get Doktor Scheisskopf to the boarding area at the far end of the airport, past the bad guys, without letting him get his idiotic ass shot off. This is the Nazis' top scientist? No wonder they lost the war.
The mission doesn't specify killing all the bad guys, but you're going to need to do so or at least get as close as you can, because any you don't get will shoot at the plane as it's taking off and frequently hit and even kill your men. And your passenger, in which case the mission fails.
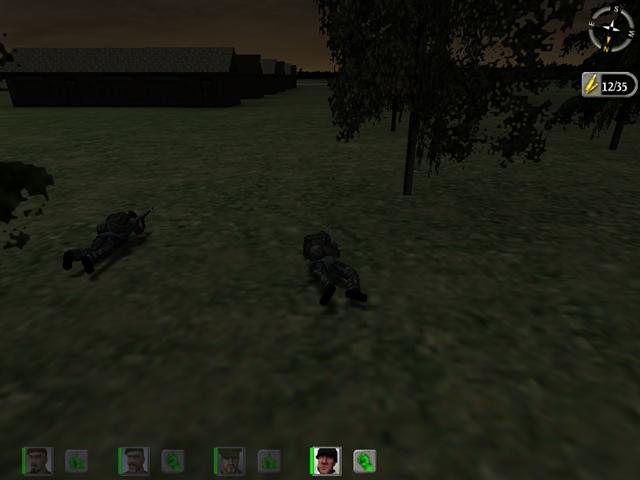
CONDITIONS: Early morning, before dawn. Pretty dim but not actually dark. Targets silhouetted against the sky are easy to see; those with anything dark behind them are damn near invisible. Clouds but no rain.
THE OPPOSITION: Probably the worst odds of any H&D mission. The briefing usually lists about forty enemy dead, and you never get them all - or even try - so it's likely you're up against fifty or so.
Fortunately for you most of them are scattered over a wide area (the map for this one is huge), so it's possible to improve the odds considerably before you have to take any of them on in a bunch.
The various anti-aircraft sites located about the airfield generally hold two or three men apiece. There are the usual individuals standing guard or just hanging out in seemingly random locations - including a few inside the hangars - and a couple of gunners in guard towers over on the far side of the field. There are several soldiers in barracks buildings near the end of the runway, who only appear late in the game; more about them later.
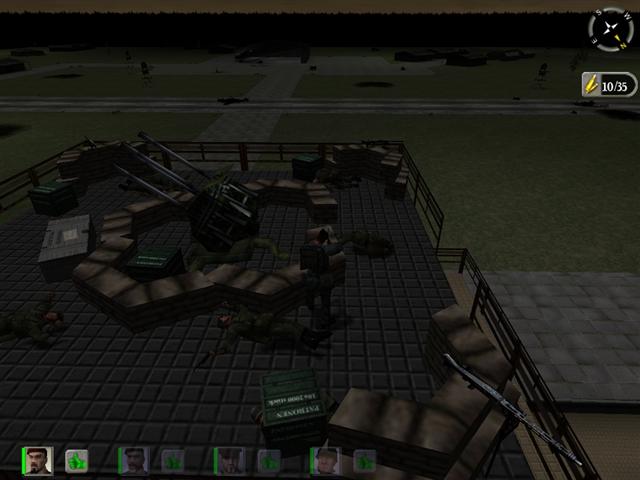
The biggest and nastiest concentration of enemy, however, is at the terminal building. In addition to several guards on top of the control tower in sandbagged machine gun emplacements, there are more on the lower levels or the terminal roof; these will serve as replacements, taking the place of anybody you shoot off the top of the tower, but they will also fire from their present positions. The tower is located in a very strong tactical position, so that it covers all the approaches, and the men on it are able to bring heavy fire on any attacker. They have automatic weapons and they know what they're doing with them.
PERSONNEL: This is a mission for top guns. Logically you should have the same people you used in the previous mission; but if for some reason you don't want to do that - or you lost somebody in C6M1 - there's a bit of wiggle room. The airport obviously is a considerable distance from the city, and some things seem to have happened between leaving Prague and arriving here; for one thing, where did they get that truck and that bike? So it's not impossible there might be other team members in the area, perhaps on other assignments, and some reshuffling of the ranks might have occurred.
You want men who can shoot straight, but they have to be able to shoot fast - in a couple of situations they're going to be firing at moving targets, with no time to line up careful shots. McGatt really comes into his own in this one; Mills is pretty good too, and Vanguard. Smedley on the other hand, while wonderfully accurate, is too slow and too easily killed, as is Web. That's another thing, these guys need to be pretty durable, they all stand an excellent chance of getting hit at least once and quite possibly repeatedly.
On the other hand strength isn't a serious issue, because they don't need to carry any special items such as mines or bazookas or machine guns; and they won't have any occasion to loot, this being the end of the campaign.
EQUIPMENT: Every man should carry an MP-44 and a rifle and plenty of ammo for both. Load up heavily on rifle ammo, because you'll all be going through it like shit through a duck; the sniping is extremely difficult and you'll fire a lot more shots at a given target than you'd expect - and there are almost no opportunities to pick up rifle ammunition on this battlefield, whereas the place is littered with MP-44s.
You'll need a modest number of grenades, too, preferably potato mashers but it wouldn't hurt to have a few of each.
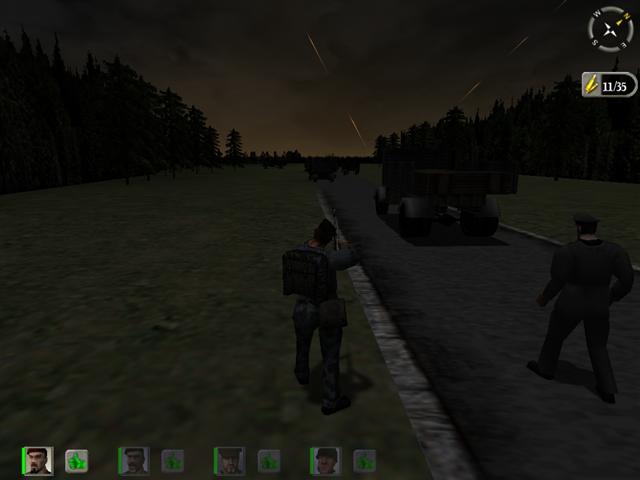
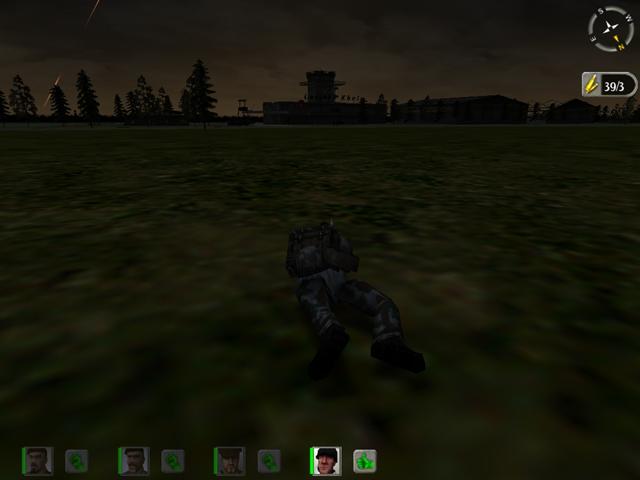
AT THE START: You're all standing by a parked truck on the paved road leading to the airport. Professor Von Doofus is with you. You're not under fire and not going to be in this area.
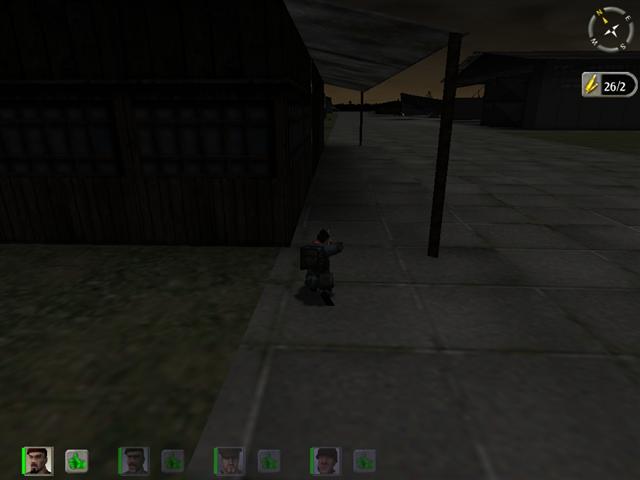
PROCEDURE: Leave the others and run up along the right side of the road to that bunch of burned-out vehicles. Staying on the right of the wrecks, move up to the side of the first car and lie down and crawl past its front end, facing south. If you zoom to max you'll see an anti-aircraft gun emplacement with two men standing by mounted machine guns. It's a long shot but don't try to get much closer because they'll eat you alive if they see you and turn those MGs on you. Get them both and then keep going.
Head toward the emplacement you just cleared. You can continue to crawl or, if you're impatient and brave, run at a crouch; I recommend the former even though it's slower. On the way, if you'll look to the right of the gun emplacement - between the guns and the searchlight trailer - you'll see a spotlight tower with a man standing at its base. Pick him off if you see him; don't worry if you don't, you'll get another chance.
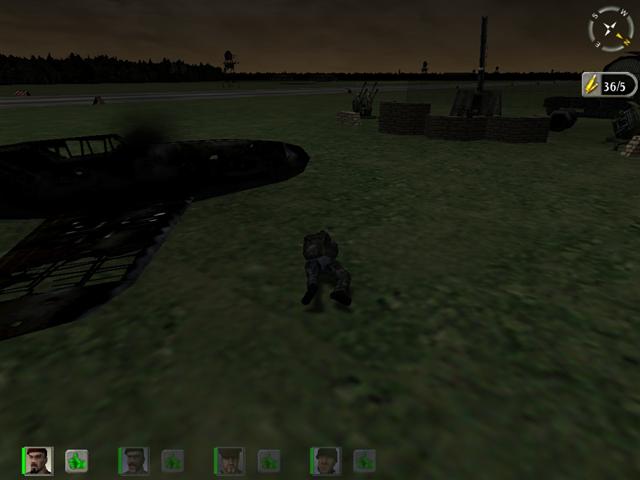
Anyway move up by that burned-out fighter plane and wiggle under its nose and line up on that next gun emplacement on the other side of the runway. Two men there too; the one in the helmet is easy to spot - and, eventually, kill - but the other one is harder to see. Look for him right in front of the gun shield.
Make absolutely sure these two are dead, because they're in a position to cover a vital path that you're going to have to use. Then, if you didn't get the one over by the spotlight tower, go around back of the gun emplacement and shoot him.
Now stop and take cover. You've got more work to do in this area but there's something that has to be done first.
Let one of your men take the motorcycle and drive up to the fence corner and park it there. Now bring him up along the chain link fence to his left and around the end, then hang a right, following the fence on the inside, and swing around behind that green tent thing and then past the first wooden building.
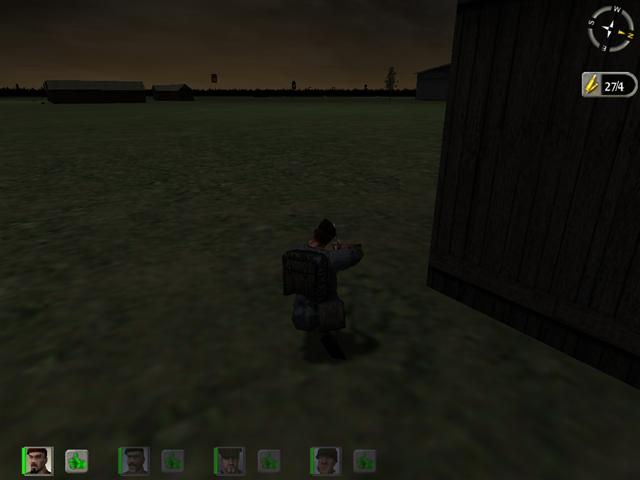
Still controlling your second man in first person, stop behind the second wooden building and get down and move cautiously across the space between it and the next one, looking southward past that big Nazi flag. You'll see a big wooden building out by the taxiway and as you keep moving you'll see a man standing in front of it. Shoot him in the back and then get up and keep going till you get to the rear of the last of the wooden buildings, facing the side of a big hangar. Through a side door you can make out part of the fuselage of a Messerschmitt Bf-109. Don't get ideas; it's purely ornamental - you can hit it with a Panzerfaust without results.
Right, back to your character. Get up and run in a crouch to that gun position you just took out. You're going to clean out this whole sector down in the southeast part of the airport. There aren't many Germans here and most of them aren't too brilliant, but this is still a high-risk business and you'll need to be very careful and proceed slowly and with great caution. You're alone and badly outnumbered, but you can do it. It's very important to clear this sector because the Germans here have a great shot at the plane as it takes off.
You can start by sniping that couple of clowns standing idly around the barracks buildings off to the southeast. Before you go on, turn around and look back toward that hangar behind which your man is waiting; there should be a guard standing in front, by a small door, and you can get him easily.
Now you can move out from behind the gun emplacement. Look off to the west, more or less, and with a little moving around you should be able to spot another AA gun position. It's a long shot but you can get the crew with persistence. Make sure you get both of them.
There's also a lone guard standing out in the open some distance to the left of that wrecked hangar with the crashed plane stuck into it. Find him and assassinate him.
Get up and run past those big green tent things and behind those wooden buildings nearby until you get to a point where you can see the guard towers at the gate. It's particularly important to take out those two tower guards because they're right in position to riddle the plane.
Go back around the wooden buildings and the tents and around to the front - don't get close to those ruined hangars - and look down to that last group of barracks or whatever they are. There's a smaller building out a little way from the rest, with a big Nazi flag in front of it. There's a man in front of it. You may have to do a bit of shifting around until you can see him and kill him.
When you've killed the tower guards and everybody in this sector, you've still got a couple of goons on the west side of that taxiway, over beyond those wrecked hangars. They're going to be a bit trickier. Get up and make a big swing off to your left and circle around, crossing the taxiway well out of range of the buildings, and then back up to the shelter of the wooden buildings. From here on you're going to have to play it by feel, because it's never quite sure where they're going to be. Use third-person view to check around corners, use grenades if appropriate, do whatever you have to do but get those two bastards and don't give up - and don't let them get you.
When you're certain you've cleared the area along the west side of the taxiway, go back across to the other side - don't go near that next bunch of buildings to the west - and around behind those wrecked hangars, and run south till you get to the end of the last wooden building on that side. Don't go any farther, and it would be a good idea to lie down and crawl the last bit.
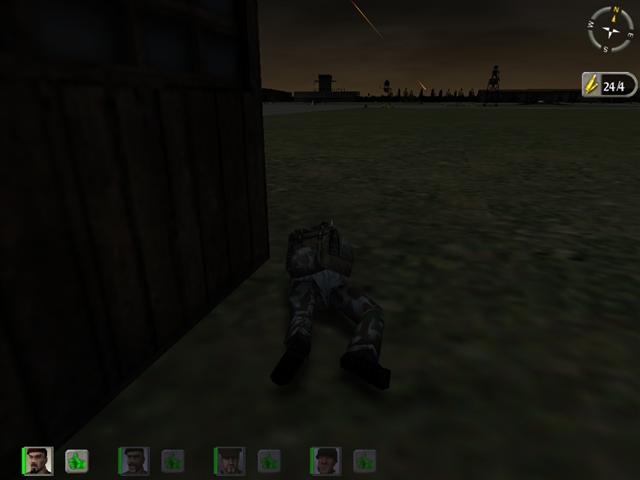
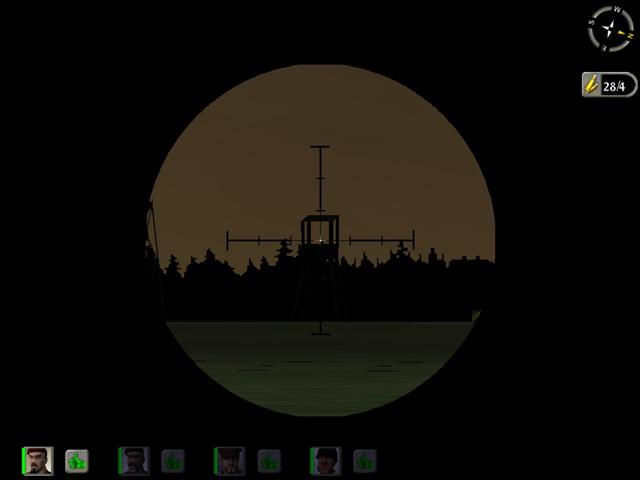
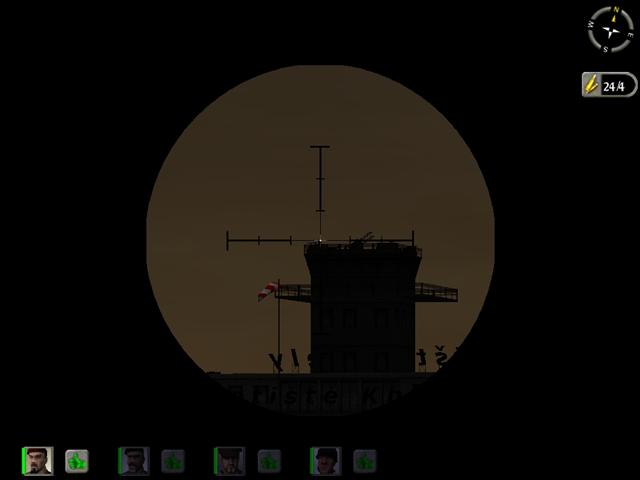
You'll find you've got a fine view through your rifle scope of the control tower atop the terminal building, and the men on it. Here's where you get to reduce the odds with no risk to yourself. (Provided you don't get any closer.)
The men on the tower are silhouetted nicely against the sky but it's very long range; picking them off isn't as easy as it looks - you'll burn up a lot of cartridges before you get them - but it's doable, and anything that reduces the number of men on top of that damn tower is worth doing.
You'll also see a couple of men running rather aimlessly around on the lower levels. They're extremely hard to hit at this range, but if you'll keep on shooting the men off the top, some of the runners will climb up to replace them and then you can nail them. Eventually you'll still have a couple of runners, though, and you can keep shooting at them if your ammo is holding out OK. It's kind of fun, like a shooting gallery, and a big rush if you do hit one.
When you've pretty much run out of targets for the moment - and you need to wait and make sure, because more may appear - leave your character there for the time being and go back to your other men waiting back down the road. Have them get in the truck and drive up to the corner and park next to the bike. Don't worry about the little goober coming along, he doesn't even know how to get into the truck.
One man should run around the end of the fence and back behind the hangars to join your man already waiting there. Keep them both low and close to the hangar, don't expose them too much yet. It's very likely there are still hostiles on top of that building somewhere.
Give them both Guard on that stairway running up the near side of the terminal building. They can't really see it because of the trees and other stuff in the way, but assign Guard to the top of the stairs, which is in sight.
Your fourth man, who's been waiting all this time down by the parked vehicles, can now get into the act. Run him up the road and turn him out to the northwest, angling across that open field, over the grass and then the cabbage field (or whatever that's supposed to be) till he hits the entrance road that runs north-south. At this point he should be way out of range of the airfield, but now you can turn him and bring him back up the road until the terminal comes in sight through his rifle scope.
He's in a position now to see any remaining men on top of the tower - and there'll almost certainly be at least one or two - standing where the rest of you couldn't see them. Have him pick them off, and be patient and persistent in making sure they're all seriously dead.
Now he moves off to his left, without getting any closer to the airfield, until he's got a clear view of that stairway running up the side of the terminal building. This stairway is very critical; men will come up it to replace the ones you killed on the roof, and you need to stop them before they can do that. Linger a little while out there, in the person of this man, with your rifle sighted in on that stairway; you may get a chance to do some shooting.
This is how you deal with that terminal strongpoint: no fancy plays, no John Wayne heroics, just steady and relentless sniping. The main thing is to take it slow and careful. Don't get in a hurry; they're not going anywhere and neither is anybody else until this is settled. It's possible to get all of them without losses or serious injuries to the good guys, if you'll just stay cool and cagy.
If you are very lucky there will be a big explosion on top of the tower. They've got all sorts of stuff stacked up there and now and then a bullet finds something explosive. I can't tell you where to aim to get that effect; I wish I knew myself. If it happens, though, it'll do wonders to reduce the problem.
Once you are fairly sure you have eliminated everybody on top of the tower and the terminal - or at least forced any survivors to hole up and keep their heads down - make sure everybody's got Guard on that stairway and a full clip, and then run forward to the near side of that green tent thing. Around the corner, on the south side, is a man waiting to shoot you. Disappoint him; lob a couple of potato mashers over at him until you blow him up.
Move everybody closer, except that you might want to leave one man in position under Guard just in case. Use the little gate house and the burned-out tank for cover. Your man on the outside of the fence can run in through the gate.
Around this time some strange things may happen. Soviet patrols are in the area. You'll undoubtedly see bodies lying around, but you might encounter a live one or two. I'm afraid I shot one once. All of a sudden this guy in a greenish-gray uniform came running through the gate and started up that outside stairway to the terminal roof, and I didn't wait to check IDs, I blew him away. Oops. For some reason it was never registered as either an allied or civilian death, though. Go figure.
Now for the scary part. You've got to go up on that tower. There's really no alternative; you have to make certain there's nobody left alive up there, and the only way to find out is to go up there and look.
Take a deep breath and run across to the terminal and up the stairway, MP-44 ready. Move fast and when you get to the top of the stairs be ready to shoot; there might be a holdout somewhere on the roof. Have your men covering the stairs so nobody can come up behind you.
If the roof's clear, and it probably will be, go on up the stairs to the next level. It's not likely you'll run into opposition here. The most probable place for survivors is on top of the tower; sometimes there's one hunkered down behind the sandbags, invisible from below. Go over to the ladder and start up, but don't go all the way; use third-person view to see if anybody's still alive up there. If you see a survivor, get back down the ladder and toss a potato masher up there.
When you finally make it to the top, you'll probably be expecting some splendid sniping opportunities. You'll be severely disappointed. There are some targets within range but they're virtually invisible because of the poor light. The only worthwhile target is a gun position to the southwest, with a three-man crew; you can get one or two of them, with persistence, but it's not all that important because you're going to have a better shot at them soon anyway.
However, you can have some fun and maybe do something useful firing those machine guns at various targets. You probably won't hit anything - though you never know - but if nothing else you can burn up all the ammo, and that will keep them from manning the damn things again as your plane takes off. I don't actually know that they do this but it did seem that the ground fire was less intense after I started doing this.
Now go back down the ladder and the stairs, down to the roof of the terminal building. Down on the ground, over by the southwest corner, a man with a gun is waiting to ambush somebody. Drop a grenade on him.
You've got a loose end remaining in this area, not an important one but might as well do this properly. There's a German still alive in that big hangar where you just came from; he's in the last room, at the end toward the terminal. Somebody go back the way you came, around the end of the hangar and along the front - staying close to the front of the building - till you reach the last door. Don't go past it. Use your third-person lookaround and check to see where he is. He should be right inside the door. Step back and get lined up and toss a grenade in - Mills if you've got it - and another if that doesn't do the job. When you've killed him you can go back to the terminal area with the others.
The next hangar contains a horrible little man, and there's a small doorway in the back wall through which he will shoot at you, or come out and backshoot you, when you go by. So go around behind the hangar till you find the little door - it's not easy to see - and get down prone so you can see in through it, but don't try to find the horrible little man yet. Have one of your men go around to the front of the hangar, staying back from the open hangar doors, and toss a grenade in. It won't come anywhere near the h.l.m. but it will get his attention focused on the front of the hangar. Now crawl over by the little door till you can see the h.l.m. - he's standing by a big crate - and feed him a good hearty burst of 7.92mm.
Now if you look closely and can't see the doorway, it may be shut. If so, you're about to have a very exciting experience. Move everybody else out of the immediate area so you have a clear line of fire, be sure you've got a full clip in your MP-44, and run along the walk past the back wall of the hangar. You will probably hear a sudden burst of gunfire, with nasty whanging noises, as the stupid bastard tries to shoot you through the hangar wall. Stop and turn around, fast - you better be able to do a prima-ballerina-grade pirouette - and look back the way you came. The door will open, after a second, and the horrible little man will come charging out, and you can dismember him.
Sometimes he doesn't respond to the first man to run by. If not, just run on down past the next hangar, out of the way, and then take over your second man and repeat the procedure. Remember to stay on the walk, and close to the hangar; if you run out on the grass it doesn't reliably trigger the h.l.m.
H.l.m. disposed of, run on past the rear of the hangar toward that last big green tent thing and turn to face more or less south. Use the rifle scope and scan the area until you spot a gun emplacement with three or four men standing by it. (If you sniped at them from the tower roof there may be less, but there'll almost certainly be at least one, even if you were positive you got them all.) Get all of them. Wait and see if replacements show up and if they do, kill them too.
It's now time for the fun part of this operation. As you'll see, down beyond the hangars, near the west end of the airport complex, is a row of wooden barracks buildings. A bunch of Germans are inside, and are going to rush out and attack as soon as anyone goes near that area. And you can't let them get away with that, so you're going to set up a little greeting party for them.
(I am indebted to "Lickshot", author of one of the better online guides to H&D, for the basic idea for the next bit. I have serious reservations about some parts of his walkthroughs, but in this instance his advice is very sound.)
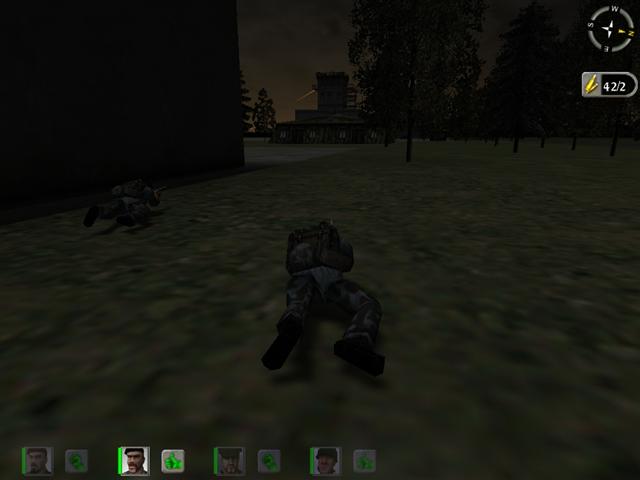
Bring one of your men around to the front of the demolished hangar and have him take a crouching position behind the front end of the wrecked wall, where he has a full view of the row of barracks buildings but also a little cover. (It's not likely there will be return fire but you may as well be careful.) This should be a good man in terms of speed and accuracy, because your own ass is going to depend on his shooting. Give him Guard on a spot by the east end of the second barracks from the south end. This needs to be fairly precise.
Run the other two around behind the green tent thing and through the trees by the northwest fence corner. Bring them to the south edge of the patch of trees and have one of them lie down over toward the fence, though not too far; he has to be able to see all the way down the lane between the barracks row and whatever that building is by the fence. Give him Guard on the area by the west end of the barracks buildings.
Put the other off to his left, where he's got a straight shot down past those buildings. Give him Guard on a point midway between the barracks on the end and the building by the fence.
As you'll have realized by now, this is an ambush. You're going to trigger the troops to rush out, and your boys are going to bushwhack them.
You - what? Yes, that's what I said, you're going to do it. Don't worry, it's a scary business but not actually all that dangerous if you move fast and don't hesitate.
Probably at this point you're still somewhere near the green tent. Get over to the nearest barracks and stand beside the eastern end of the building. Make sure your MP-44 is fully loaded. (Come to think of it, you better check the others out too; they have a way of running around with only a couple of rounds in the clip.) Repeat a brief prayer in the religion of your choice, if you like.
Now run like a son of a bitch past the ends of those barracks buildings. Run past the next three - count as you go by - and then hang a sharp right and dive up between the buildings. Go about halfway up, staying well over by the building on your left, and hit the deck, watching the building to the right. A man will come out of there and you must shoot him instantly. About this time you will hear gunshots and assorted cries of alarm and despondency from somewhere disturbingly close by.
If your men are any good, this will last almost no time; the goons will be on the ground before you know it. Turn around and look back and you will probably see that one of them was right behind you when he bit it. Now you know why I said put your best man out there by the hangar.
When the firing is over and the bad guys are down, you can get up and move back to join your men. You can pause on the way to admire the new cadavers, but DO NOT UNDER ANY CIRCUMSTANCES TAKE A SINGLE STEP IN THEIR DIRECTION. Down by the end of the barracks row the trigger zone begins. If you go down there looking for loot or just screwing around, you will trip the aircraft landing sequence, and it will land and take off again with absolutely no chance of your catching it.
So collect your men, cancel the Guard orders, and move them all back to the gate by the terminal. One of them can run back along the road to the fence corner and get the truck and bring it up.
Load yourself and your men on the truck and proceed along the paved road, around past the end of the airport area, over toward the other side. As the road straightens out to run east-west, turn off the pavement toward the end of the south runway. A burned-out fighter plane is lying near the end of the runway. Park the truck nearby and get everyone out and have them go over and stand near the burned-out plane, on the north side of the runway.
Yes, I know you left Professor Von Butthole back there. You're not ready for him yet. There's some serious shooting left to be done and you don't want him around with the lead flying.
The last bunch of surviving Germans - if you did your job thoroughly up to now - is in that group of wooden structures to your southeast. There are four of them and they're very aggressive; they'll come charging out in a bunch as soon as anybody gets too close. You're not going to sneak up and snipe them.
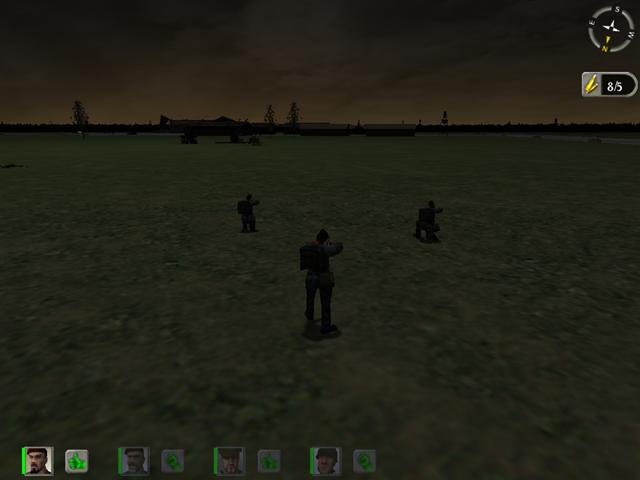
So deploy your men across the field - don't get close to the runway whatever you do - so they can cover those buildings. Make sure they've got clear shots at the spaces between the structures, where the Germans will come out. Have them lie down and give them Guard. Make sure everybody's fully loaded.
Now take your MP-44 and run toward that gun position ahead of you, swinging to your left as necessary to keep the gun emplacement between you and the brown buildings as much as possible. When you start to get close, run straight to the gun position and hit the deck. Gunfire will be going off all around you by now. Spray the area between those buildings with full-auto fire; don't wait to try to see targets, just shoot, lay down a blanket of lead.
One way or another, it will all be over quite soon. If you deployed your men correctly and they did their jobs and you did yours, the good guys will have won again. If not, you may be looking at some losses, including your own ass.
Check the body count. There should be four dead Germans. If there aren't, then you've got somebody still alive back among those buildings and you'll have to go hunting for him. Be careful; he's probably hiding in back of the buildings somewhere, and if you can locate him without giving yourself away - use third-person as usual - you can probably grenade him.
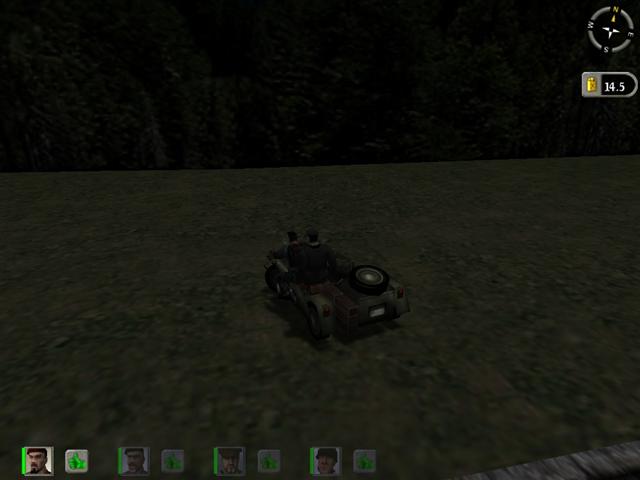
Now somebody has to go back and collect the geek. Take the truck and drive back around to where you left the bike. Leave the truck, start up the BMW and go find the stupid son of a bitch and give him follow-me. (Careful you don't run over him.) He'll climb on behind you, being too dumb to use the side hack, but refrain from shooting him and drive along the road and past the end of the airport again. You might be tempted to just drive straight across the airport but there's always the possibility of a German straggler or two. Remember, if the Herr Professor gets killed, the mission fails, period.
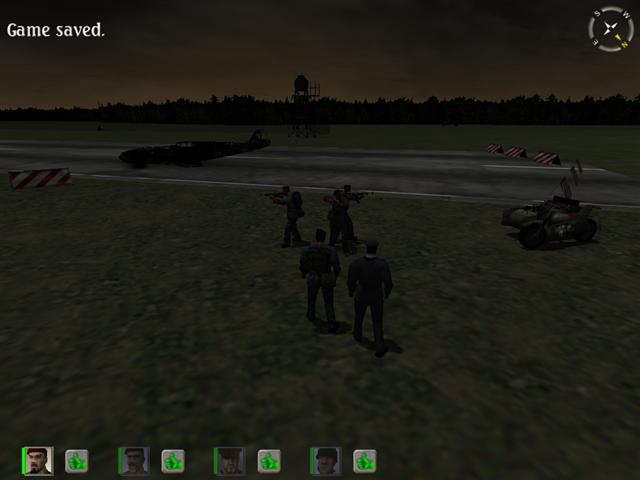
When you reach the other side, run the bike up by the parked plane and stop and get off. Von Dickhead will get off too; give him a stop command so he stays put.
SAVE THE GAME, RIGHT NOW. There are special reasons in this particular case. Be absolutely sure you save the game before you make another move.
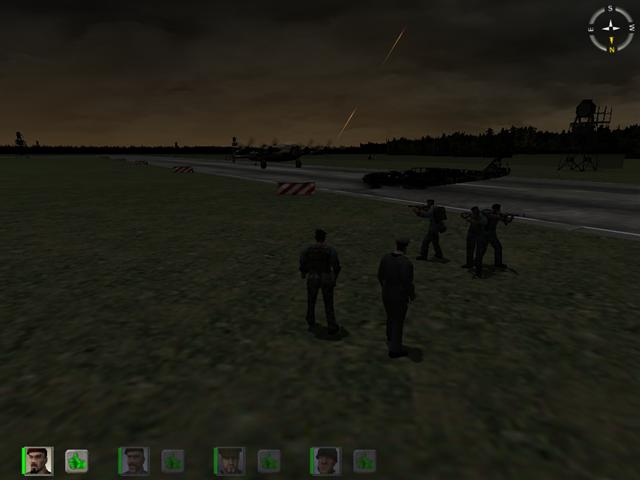
Now, if everything goes as it's supposed to, you're ready to wait for the plane. You will note that this is very different from the information given in the briefing, which told you that the plane would be landing at the end of the main runway. This was quite simply a lie. The plane will land on the south runway - the one that angles off away from the main one - and if your people are hanging around at the wrong place, they won't have time to catch the plane before it leaves. I think whoever designed this mission must have worked at some time at O'Hare International.
And as soon as anybody crosses or gets near the end of the main runway, where they told you to wait, the plane will be triggered to land. So stay away from the main runway; don't let anybody even go near it.
Go into third person and run over toward the end of the main runway. Not the absolute end, but a little way up; aim toward that burned-out truck. Just before you reach the runway, you'll see the slight flickering hesitation that tells you a trigger has been tripped.
Turn and sprint like a buggered bunny back toward the others. Give them a follow-me and lead them off to the left of the runway, far enough that they'll be well clear of the airplane as it turns. They'll scatter out all over the place in their usual idiot way, but then they'll bunch up on you. Give them a stop so they don't wander around. You have to do this to make sure they don't get themselves decapitated by the plane's props.
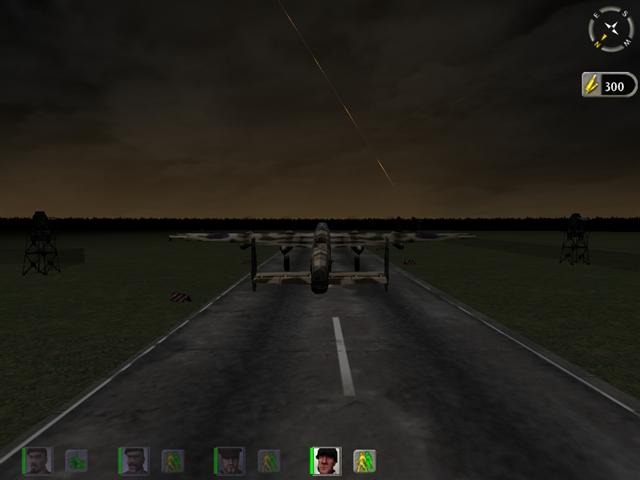
Wait while the plane taxis to the end and turns around. As soon as it turns around, call out another follow-me and run over to the left side of the plane and use the door to board.
Now that's what's supposed to happen. And normally it does. One time, however, I ran into something really amazing - and nasty.
I went running toward the runway, and damn if a bunch of guys didn't come out of that barracks group on the other side of the runway - you know, where we set up the neato ambush? - and blow me away.
After I got over the shock I reloaded the game and tried it again, just to make sure I hadn't lost my mind. Nope. Here they came again, blammity blam.
Which of course is impossible; we killed those guys already, quite some time back. Got to be the same ones, too, same number, same locations and everything.
I can only conclude that, as Oleg used to say when we complained about problems with IL-2, "Is bug." Somehow there's a bug that can cause those guys to show up all over again, even though they've been killed. A resurrection bug? Hey, don't ask me, I'm just telling you what happened.
The obvious answer would be to load up the truck and drive back around and run the same razzle-dazzle play on them as before, but I didn't want to go to that much trouble and anyway there was no guarantee it would work a second time. So I just deployed my men where they'd have good lines of sight on where those bastards were going to appear, and made a quick run toward the runway to trigger them.
It wasn't necessary to go all the way to the runway - that would be a disaster, the plane would come and we'd never catch it. Somewhere about on a line between those two searchlight towers turned out to be the trigger distance. As soon as the shooting started I hit the deck and began raking that area with full-auto fire. It was all over in seconds and then we were able to go on with the boarding process.
As I say, it's only happened to me once, and I've played that mission a hell of a lot of times. But it could happen to you, so that's one reason I say: SAVE THE DAMN GAME BEFORE TRYING TO BRING THE PLANE.
And here's another reason to save: now and then it happens that Professor Asshole decides to stand in the open doorway of the plane, thus exposing himself to ground fire and quite possibly getting killed and blowing your whole mission. Supposedly you've cleaned out all the enemy, but what if you missed a couple? It only takes one; the Professor isn't hard to kill. So just in case this happens you need to be able to reload and try again, till you've got everybody properly boarded.
The plane won't hang around long. When it does take off, if you've done your job properly, everything will be nice and quiet. If not, there will be a real shitstorm of ground fire coming your way and you'll probably take some casualties. The men standing in the doorways are of course at the most risk; they'll probably at least get hit and you may lose one or both. So now is when you get the payoff for all that nerve-racking work clearing the place.
You have now completed all the missions in the original Hidden & Dangerous. Congratulations on a job well done.