Bridge Over Virtual Water

Bridge Over Virtual Water
Now this is more like it. Not just what the addon should be; this is more like what H&D should have been all along. This is the first mission in which H&D really starts to live up to its potential as a serious VR combat game, rather than just a silly-but-fun shooter.
The premise is an entirely credible one; no goofy shit about secret weapons or holding off armies, just a straightforward military operation such as might actually have been undertaken. (In fact the SAS did take part in the Ardennes campaign, though mainly in a reconaissance role.) There's no nonsense about dressing in enemy uniforms and hijacking vehicles; you just drive up in a jeep. The scenery doesn't really resemble the Ardennes all that closely, but there's a good reason: the Ardennes are so densely forested that a realistic representation would create a monster performance hit and I doubt if the AIs would be able to operate. This comes about as close as is practicable with the technology available when this game was made.
And speaking of AIs, the bad guys are far more believable in their behavior - dangerously so, as you'll see. No more easy sniping, picking off a man here, a man there, while their buddies walk right past the bodies without seeming to notice. You shoot a man in this mission, his mates are very probably going to come after you, and they'll do it aggressively and in a coordinated professional manner; if you don't use your own men just right, you're going to get shredded.
Oh, there are still plenty of flaws. The game has some odd ideas about bridge demolition, and a few of the AIs still behave in the old numb-nuts way, and the new weapons, with one minor exception, are major disappointments. But the overall quality is so much better that you'll barely recognize it as the same game.
At least until you start trying to work with your own AIs. Then it'll all come back to you....
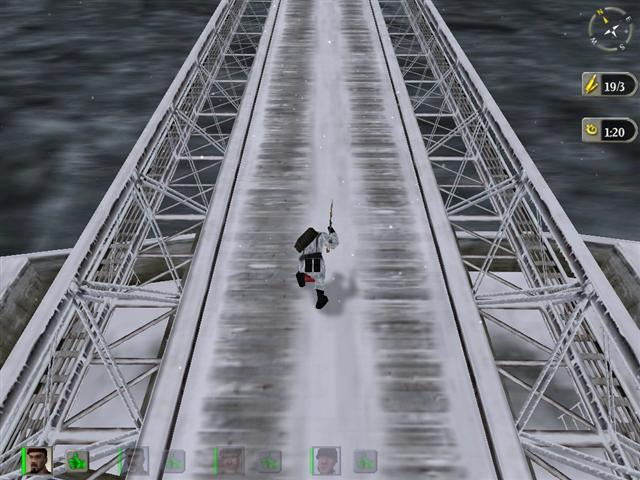
MISSION: Blow a pontoon bridge in order to cut German lines of transport. (Of which there is none in sight, but never mind that.) Then, as usual, reach the escape point, without letting your jeep get blown up.
CONDITIONS: Daytime. Snowing, but not terribly hard. Visibility OK close up but blind at any real distance.
THE OPPOSITION: Around thirty Waffen SS, mostly infantry carrying an assortment of weapons - MP-44s, MP-40s, bolt-action Mauser rifles; no Panzerfausts this time, oddly enough. Two tanks, one of them apparently disabled. One halftrack, stationary but in a position to use its MG effectively. One tower gunner. A single AA gun crew. Minefields in some areas, enough to limit your options.
PERSONNEL: Definitely a top-gun mission; bring out the first-string shooters you've been hoarding all this time. Reactions are more important than pure marksmanship; most of the critical shooting will be at moving targets. My A team for this mission is Major Calvert (myself), Lt. Whintson, McGatt, and Stirling. I wouldn't take any of the fast but frail types, like Switcher or Mountbatten, because there's a good chance they're going to get hit. Wooley and Mills are good on this one too.
Strength isn't very important; still, one man has to be able to carry a bazooka and two or three rounds - or, alternatively, two or three Panzerfausts - in addition to his other weapons, and another one has to carry some explosives.
EQUIPMENT: Each man will have to have a submachine gun or assault rifle: MP-40, MP-44, or Sten. (Or Thompson, if you like what they've done with it in this addon. Personally I tried it the first time I ran the mission, and halfway through the first fight I was searching bodies frantically for an MP-40.) Mix as you like; I issue Vanguard an MP-44, since he's the best shot, and everybody else MP-40s.
At least one man will need a scoped rifle as well. Two would be better.
You will have to have two or three explosive charges, and a bazooka with two or three rounds. Finally, take a few grenades, of whatever sort you favor. (I like the new British grenades.)
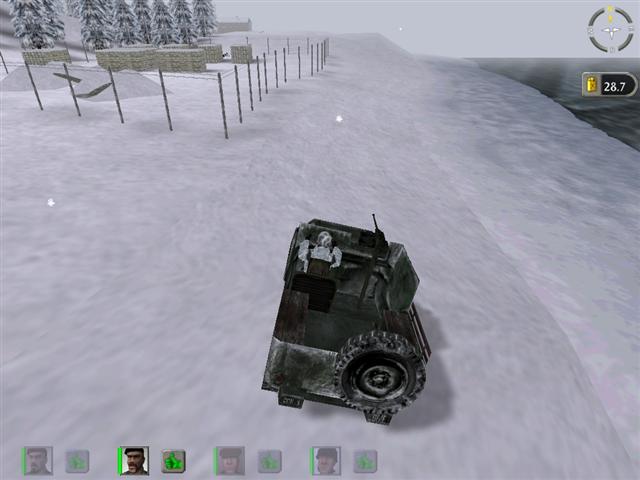
AT THE START: You're standing around the jeep at a rural intersection. Nothing is going on anywhere nearby.
PROCEDURE: Everybody pile into the jeep and start up and take the road to the right. (In case you get any clever ideas later on, the road to the left is heavily mined.) Drive to the end of the road - you'll see a little boat dock, and an abandoned house - and everybody get out. You could drive a little farther but there's no point in it; just leave the jeep by the road for now, it's safe.
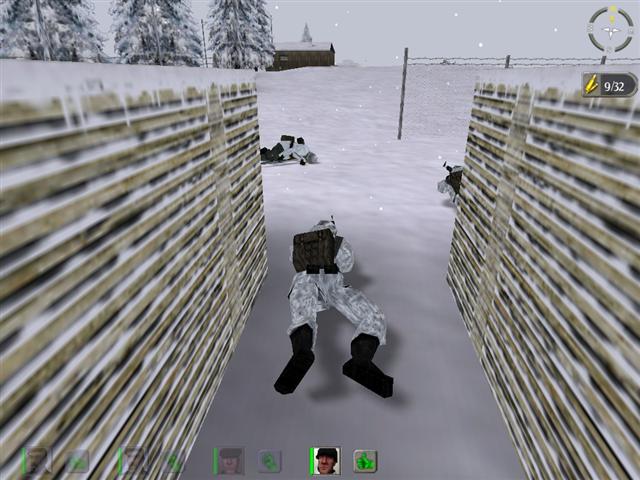
Turn left and move along the river bank, up through the trees. You might bring another man along as backup just in case, but it shouldn't be necessary just yet. Watch ahead of you and when you see a fence, stop and get down.
Ahead of you is a fenced enclosing some stacks of lumber and other supplies. On the far side of the enclosure is a sentry walking a regular beat. Be warned: he's not the kind of clueless wonder you're used to in these situations - no cheap and easy beginning kill for this mission; if he sees you first he'll come at you and he won't be kidding around. So stay low, get into position, and nail him.
When he's down, you can start moving your people up a little way. Crawl them along down by the river, where it's frozen along the bank; this will keep them from seeing any enemy and starting trouble on their own. Don't take them too far, just about even with the corner of the fenced enclosure. Right now you're mainly stashing them where they'll be safe until you're ready for them.
Once they're in place, you can crawl forward a bit yourself. No need to go down the bank, you can stay up on the level and creep along between the fence and the edge of the bank. Keep looking ahead, in the direction of the bridges. Use third person, so you can look over the snowbanks and see what's up there waiting for you.
And keep an eye on that area just west of the bridge. There's a Panther tank parked there (not a Tiger, in fact it's quite a well done Panther) and as soon as you can see it clearly, freeze. You will now be close enough to trigger it into movement. Don't worry, this is a much more believable tank than the ones you've tangled with in H&D; if you just hold still and keep quiet, it will motor on up the slope and off down the road, then turn and come back and take up a position on the north side of the road.
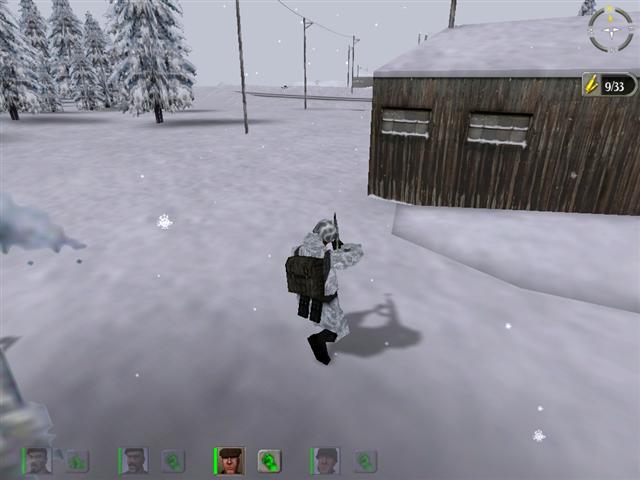
So as soon as the tank has disappeared behind the little wooden house up ahead, get moving. Crawl yourself through the open gate of the wire enclosure and around behind the stacks of lumber, where you can stand up if you like.
Then bring two men up from down by the bank - your two best and quickest shooter - and position them prone on the right side of the timber stacks and a little out front. (Remember to keep them widely spaced so they don't get tangled.) Give them Guard on the area at the south side of the nearest building, just ahead.
Bring your remaining man up the bank and lay him down outside the wire, by the gateway, and let him cover the area near the end of the bridge. He shouldn't be needed if you get the next part right, but mistakes do happen.
When your men are all in place, go over to the piles of gravel behind the stacks of lumber and climb up onto one. You may have to try a couple of different piles till you get the right position. Get out the rifle. Look north through the rifle scope and you'll see a couple of men, just their heads and shoulders and maybe upper bodies. (A quick look in third person can help you locate them.) This is not counting the guard in the halftrack; you're just looking for two ordinary troops on foot.
When you find them, shoot them both. Do this quickly. Shoot the one on the right first, he's a little faster, but get them both. If you fail to kill them both, or if you're not sure, then get down off that gravel pile instantly and switch to your MP.
If you do get them both, do exactly the same thing: jump down and go to your MP. As soon as the shooting starts, a man will run around behind that nearest building and charge down the hillside at you and your men. If you've got good gun hands and they're positioned right, they'll kill him immediately. If not, you're in the shit.
It is also possible one or more men will attack from other directions, which is why you've got your other man covering the other possibilities.
It will all be over quickly. When the firing stops, get down off your gravel pile and move around the lumber and forward a little until you can see the halftrack gunner (once again third person will be invaluable) and pick him off. If nobody charged when you shot the other two, they will do so now, so leave your men in place until you're done.
Now comes a difficult part of the mission. You need to move up behind that house, because it's your only usable cover for taking out the tank. And you can get up to it pretty easily; but you can't go around to the side to attack the tank without coming under fire from the tower guard and various others. So you've got to take care of them first.
The big problem - one of the biggest in the mission - is the three SS thugs standing near the east end of the next wooden building, the one over by the guard tower and the AA emplacement. As soon as you shoot the tower guard, or anybody else in that area, those three will come roaring over the snowbanks like rabid wolverines and attack you and anybody else in sight. And even though there are only three of them, they're very fast and very good shots; and they'll use the trees for cover, too, so they're right on top of you before you know it.
What you need is a way to take them out of action all at once, before they can get their act moving. Here is how you can do it. It's quite an involved and tricky business, but when you pull it off successfully you will feel really proud of yourself.
First you need to move your men into position. They need to be spread out over the area to the south of the nearest house, about where they shot that guy when he came at them after you started sniping. There's quite a wide area in there that's hidden from the tank by the house, and as long as they're lying down flat none of the guards can see them - except the tower guard, and he won't be looking in that direction at this point.
Move the first man up to a suitable spot where he's lying prone, he's got a good field of fire in the direction of the building over by the AA nest, and he can't be seen by anybody over that way - but, and this is vital, only the snowbank is hiding him from those three SS bastards, and them from him. That is, if he were to rise to a kneeling position he'd be able to see them.
Third-person view is indispensible in getting him set up for this; you can see them but he can't. When you're pretty sure you're on the money, try going to first person and popping him up to kneeling position and back down, very quickly, just to make sure he's got a line on them.
But now you've got another problem. While he can't see them from where he is, he can see that geek in the tower; and just as soon as you leave him there to go bring up another man, he'll start firing. As you know by now, no hold-fire or wait command will have any effect whatever.
So keep control of him just a moment longer, and turn him - in place, without moving except to rotate - till he's facing off in some harmless direction, like out across the river. Pull up the map and give him Guard in that direction. Now he can't see any targets so he'll behave himself.
Now bring up your next man, and your next, positioning them in the same way, lining them up on those three goons but keeping them down out of sight, and giving them Guard on an empty space in some other direction. Make sure your men are spaced widely enough apart that there's no risk of their getting tangled up together, as they sometimes do; and make absolutely sure that there are no obstacles such as trees to interfere with their turning around.
Right, now you can crawl forward yourself. You should be over to the left of the others, where you've got a good clean shot at that tower. You shouldn't need the rifle; it's a long shot for an MP but he's not going anywhere.
And now pull up the map again. Select each man in turn and do the following:
(1) Delete the present Guard command;
(2) Give him a "bench" or kneeling command; and
(3) Assign a new Guard command on the area by the east end of that building, over where those sons of bitches are standing.
Now hit your Map key again and as the map vanishes and your screen returns to your action view, shoot that guard out of the tower.
As you do so you will, if you have done everything right, be rewarded by a crackle of gunfire from your men, as they rise to kneeling position, swivel around, spot those three SS punks, and blow them away. It will all happen incredibly fast; it may be over before you even get done with your own shooting.
However, as soon as the tower guard is down, reload if necessary and move over to join the firing if it's still going on. It can happen that somebody blows it and one of the bad guys gets a little farther than he should, but unless your men are hopeless doobs or you've really botched the deployment, none of those three should make it across the road. They'll come climbing over that snowbank and when they do they're dead-meat targets.
See, your boys are capable of functioning as a team; you just have to know how to trick them into doing it.
Now and then it happens that a couple of the SS types charge across the road earlier on, when you shoot the halftrack gunner. If so, if there's only one of them left, so much the better; but you'd better assume they're there until you know different.
As soon as the SS trio are down, delete all Guard commands so as to allow everyone to engage targets of opportunity. Now move up to the corner of the house and use the rifle to snipe at the AA crew. You won't get them all - even if you think you did, you'll find out later you didn't - but you should be able to get two or three of them anyway.
Finally, go down to the other end - the southeast corner of the house - and, without going far enough around the corner to expose yourself to the tank, locate the sentry patrolling between the two bridges and kill him.
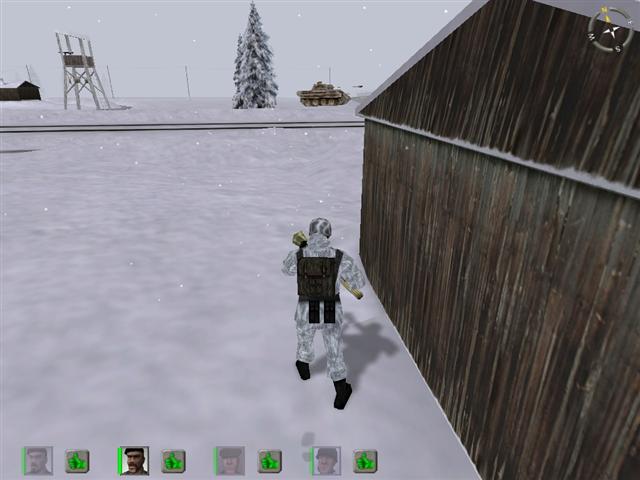
And now, or whoever is carrying the bazooka, can move cautiously along the west end of the little house and bust that Panther. You will need to be pretty close to the corner of the house or it won't register. Don't be too nervous about this; that one isn't nearly as fast or alert as some of the other tanks you've encountered in H&D.
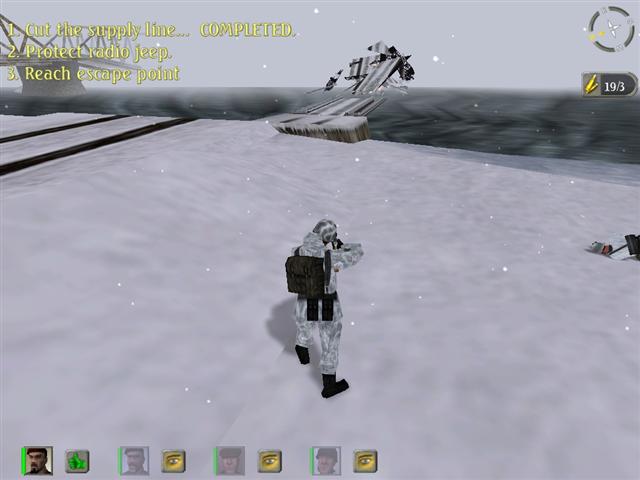
When you've blown up the tank, run down to a spot near the end of the pontoon bridge, using the snowbanks for cover, and find and shoot the rifleman out on the demolished bridge to the north. Once you've got him out of the way you can proceed with the job you came to do.
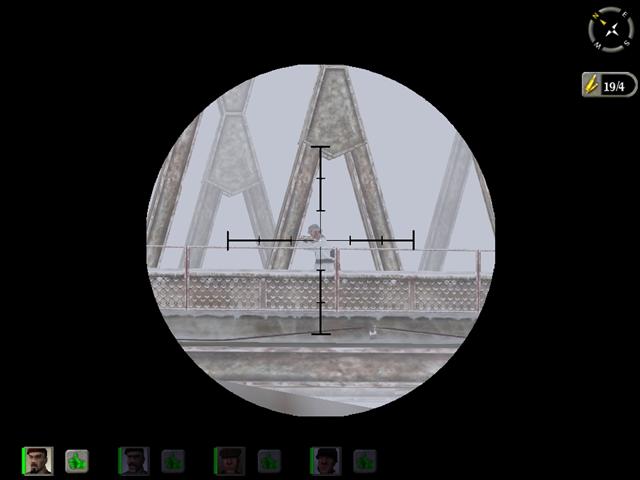
Despite what the briefing says, you don't have to place charges in the pontoons themselves (I'm not sure it's possible) or blow all three of them unless you just want to for the hell of it. Just walk out to the middle of the bridge and put one charge right above the central pontoon, and when it blows you will get credit for destroying the bridge.
But you must put the charges right above the pontoons themselves. If you put charges at the joints instead, the bridge will be blown to shit and fall into the river in pieces, but you won't get credit for completing that part of the mission.
Go over by that halftrack - by the way, it won't run, don't bother trying - or the burned-out Panther, and look off to the north and the west. You'll see where the original road, from the demolished bridge, runs along beside a mostly open field with some patches of woods. Pull up the map and you'll see that some distance beyond the old road, at the end of a little side road, is another building. Men are going to come out of that, in ones and twos, mostly using the side road and then turning east toward you; and they're going to be on the attack, in a not very enthusiastic sort of way.
Right now, if you'll look off across the old road down near the guard building - the one next to the AA nest - you should spot a man standing there. Pick him off; he's the first of several you're going to have to deal with in that area.
There is also a fanatical little Nazi prick in the AA emplacement. You may have thought you got them all but you didn't; this one stayed down. He's going to pop up and shoot at people when he gets a chance, so he's got to be eliminated.
However, there are more SS moving in your direction, so before stalking the last AA nest holdout, get the other men in position to cover you - they can use the halftrack or the burned-out tank for cover, or the snowbanks or whatever - against anybody who may try to rush you.
Now, using the snowbanks for cover, crawl up close to the AA emplacement and toss in a couple of grenades. Having thus sanitized the position, get all your men into it; it's an excellent defensive spot from which to take on the next attack.
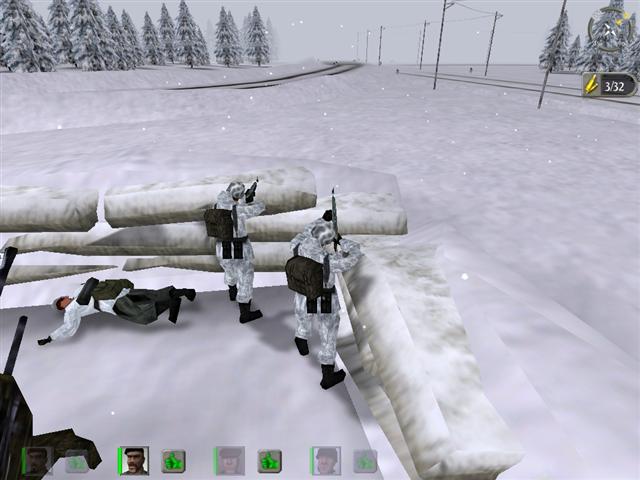
If nothing happens for quite some time, then move out to the northern side of the emplacement and run west just a little way and then run back. Or fire a few bursts into those trees or whatever. The point is, sometimes you have to do a little teasing to get them to come on.
Generally they'll come in twos. The one you shot a few minutes ago, over by the old road, has a partner somewhere in the area. Then two more will come running up the road and you and the boys can mow them down.
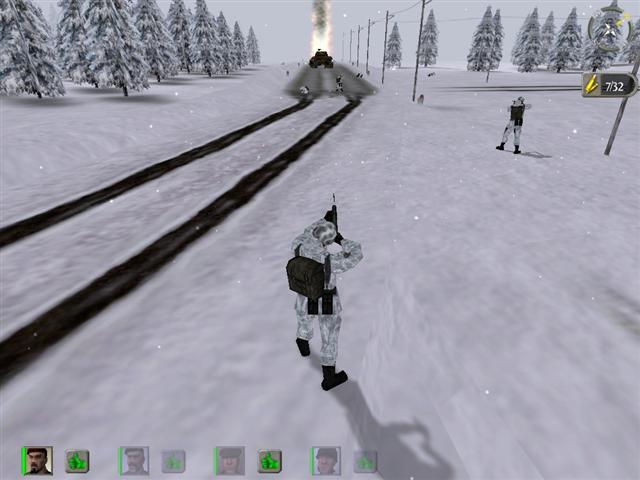
Move out of the emplacement and proceed cautiously down the road, keeping everybody spaced out but in position to cover each other. As a second tank comes into view up ahead, or pretty soon afterward, a couple more men will show up. Once again they're coming from that side road, so concentrate your best men on the right side of the road and try to get them before they can organize an attack.
The tank ahead of you is no problem; it's got something wrong with it - I'm not even sure it's in working order. If you've got a bazooka round left, destroy it. If not, you can just walk up to it from behind and plant an explosive charge.
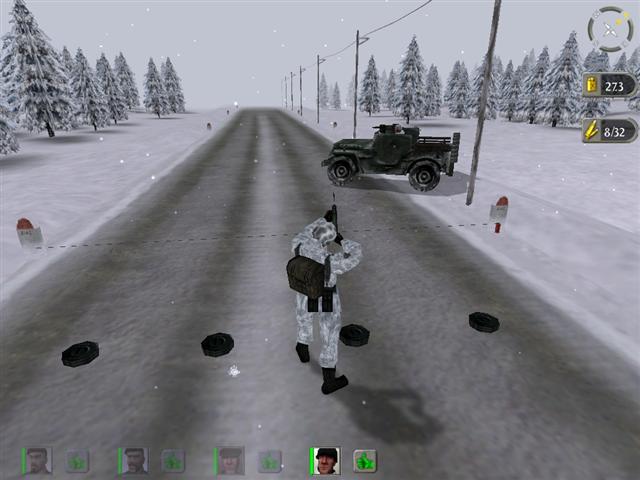
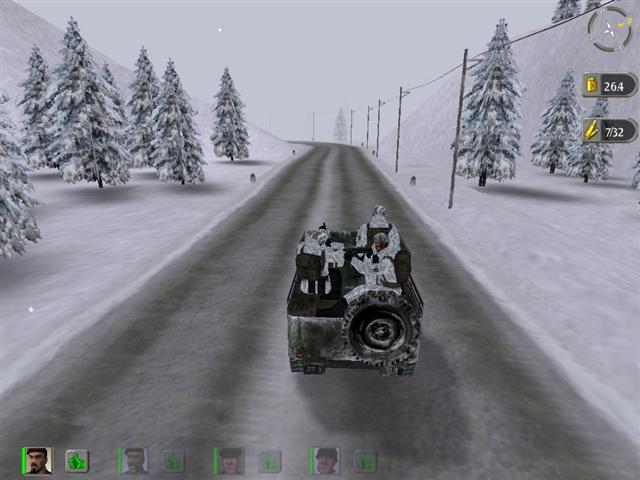
Now is as good a time as any to send someone back to get the jeep. Drive it along the river bank and up the road to where the others are waiting.
Do not go any farther. DO NOT PASS THAT WRECKED PANTHER.
Somebody go have a look, on foot. See the row of mines on the highway? Now look more closely, but don't go near. See that wire across the road, with the sticks of explosive at either end? I don't think you'd better touch that, somehow. When the time comes to move the jeep down the road, you'll want to circle very wide around this lot.
Now is also a good time to loot the bodies lying around. If you're using German weapons, and you should be - they're better than the issue British or US ones - this is your only supply source.
By now you should have a couple of bodies off to the right somewhere, and four in the general area of that wrecked Panther or possibly down by that side road. This leaves only a few Germans between you and the exit. Unfortunately they're the hardest ones of all to get. They stay up under the trees where they're hard to spot and shoot you as you try to advance down the road.
And forget any Rat Patrol notions of rolling dramatically down the road in the jeep, guns blazing. You might be able to get away with this at the easier levels, but if you try it at Hard level you will be shot to shit. The bad guys will open fire as you approach and your machine gunner will not fire until they do - if he does at all, most likely he'll just sit there with his finger up his ass and get blown away. (Sitting up there on that raised seat that some idiot put in, he makes the ultimate sitting-duck target.) The other passengers will do the same and suffer the same consequences, and even the driver isn't nearly as well protected as you might think.
So your only safe course is to get those gorillas down the road the old-fashioned way: hunt them down and kill them one by one.
First, however, get the jeep into position just beyond the mined area - no farther, be very cautious about this - so it's lined up pointing up the road; and put one of your men, the one with the best reactions, behind the machine gun. You want him to be able to cover that road, in case anybody tries to cross it.
The nearest German is on the left side of the road, not very far down. The next one is on the right, a bit farther along. Finally, there are two or three men by the intersection. That sounds misleading; the distance isn't really that great, as you'll see by the map - they're all close enough together that if you shoot one of them the others are liable to come after you.
One man will now cross over to the right side of the road till he's a short way past the jeep, and then get down and begin crawling along parallel to the roadway, using third-person to see across the road.
Before he goes anywhere, though, take another man out through the woods on the right side of the road, and bring him around in a semicircle toward the road, staying well under cover. It's easy to get disoriented; use the map to check locations and directions. The green circle indicating the man down beside the road will help with orientation.
Use these two men in alternation. The one next to the road has the primary job of taking out the German on the right side; the one up in the trees is going to stalk the ones on the left, if at all possible the first one ahead of the jeep. It's not easy to locate the target but once you do it's simple to snipe him from the cover of the forest.
For extra insurance, you could bring another man - the one who's been driving the jeep - and have him crawl along by the road too, with an automatic weapon, as backup in case somebody charges; that sniper rifle isn't too great for repelling a sudden attack.
When you do shoot the man on the left side, the one on the right side will probably run toward your man down by the roadside; then he or his backup man can get him. If he doesn't come, then your crawler can just keep moving a little farther till he can see him and can pick him off.
Also, when you shoot the man on the left, another man may come out of the trees and rush across the road. If you've got a good man on that machine gun, he won't make it; you'll hear the rumble as that big fifty chops him down. But if the machine gunner doesn't get him, then that's when you'll be glad of having a backup man along.
From here on out you have to play it somewhat by ear, because the Germans aren't always in the same places and they don't always behave in the same ways. Your man, or men, can continue to crawl along by the roadside, using third-person to watch the other side, perhaps popping up for a quick shot if you spot anybody. The one back in the woods can continue to work his way along parallel to the road and try to get shots across the open space. Remember that when you shoot one man, another one is liable to come running toward you. This can help solve the problem if you get him, or end all your problems if he gets you.
The last one down by the intersection sometimes charges and sometimes doesn't. If he doesn't, then he's being cagy and this is going to be a bit harder. Sometimes he holes up down by the intersection, on the west side of the side road, up under the trees - he may even lie down for concealment - and then he's extremely difficult to smoke out.
The safest way to get him is also, I'm afraid, pretty time-consuming, but it does work. You have to move back into the woods and swing around in a big circle through the hills until you're due north of the intersection; and then get down and move toward the road, crawling the last bit as you emerge from the woods, using the snowbank to hide you and third-person to spot the Hun. Even then it may take some doing; the trees play absolute hell with third-person, sometimes you can't see shit. When you do locate him, try lobbing a grenade or two across the road to blow him up.
Once the road is clear of hostile elements, there's nothing left but for everybody to pile into the jeep and roll on down to the exit.
What a great mission. I hope you enjoyed it as much as I did.