Hot Times At The Acme Rocket Factory
Hot Times At The Acme Rocket Factory
This is a short one but not an easy one. Not that it's at all difficult in terms of complex tactics being required; on the contrary, it's very straightforward. But it's pretty risky.
And this creates a special problem, because you cannot lose any men in this mission. You have to get them all through alive, because you have to use the same men in the next mission and it takes four to do the job.
Oh, you don't have to use the same men, the game doesn't impose any such requirement; you can completely replace everybody if you like. But if you do then you're flying in the face of all logical story development; because the end of this mission runs right into the beginning of the next one, with no point in between where you could possibly change personnel.
Now maybe that doesn't matter to you. If not, then this will be an easy mission; it's very easy as long as you don't mind having your men killed off.
But you're throwing away the great beauty of this campaign, in that you've got all these missions linked together, starting with this one; and so it's like one long mission, with breaks in between. You've got this really exciting story of four men battling their way through a series of dangerous and difficult situations, and if you change things around you blow all that.
Up to you, but that's how I feel about it.
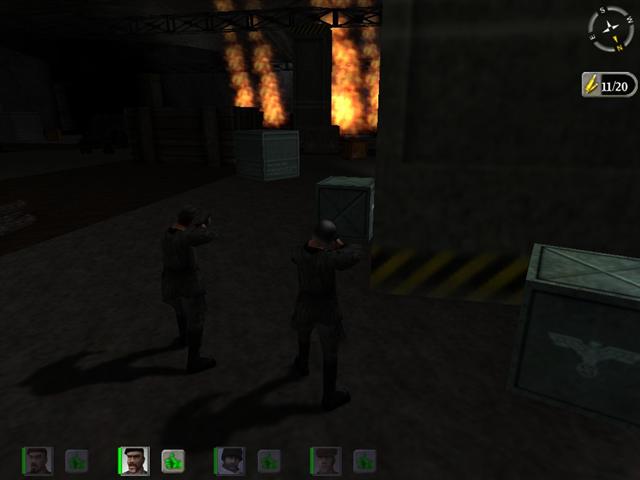
MISSION: You've gotten into the missile production center (actually the shipping area, you never get to see any of the factory itself) but now Steiner makes a break for it and sets off the alarm. You have to shoot your way out of the place.
The briefing will tell you that you also have to blow the place up, but as you'll see, that's typical H&D briefing bullshit.
CONDITIONS: Indoors. Poor lighting, about to get much worse.
THE OPPOSITION: Hell, I don't know how many of the sons of bitches there are. A lot of them, that's for sure, and they're scattered all over the place. Nobody's walking any predictable patrols or anything like that, they're just running around with guns.
PERSONNEL: As I say, if you're planning to play this in any honest way then you should figure on using the same men for both this mission and the next one - at least; and really you ought to use them through the rest of the campaign, but after C3M4 there are ways you could perhaps rationalize adding replacements. But C3M3 and C3M4 run together; in fact they're really just two parts of the same mission.
So you need to pick your men well, even though this mission isn't terribly demanding in terms of skills, because the next one is extremely tough.
But because you do need to get through this one without losing anybody, you'd better pick some tough guys who can take it. Nobody with an endurance number under 75 and really that should be 80. Aldridge is always an excellent choice in a situation like this. Whintson and Wooley are outstanding as always. Of course you're stuck with your own character, assuming you use the same persona throughout the campaign.
Read the walkthrough for the next mission before you make any decisions about whom to take on this one.
You don't absolutely have to have four men to complete this mission, but you do in the next one so there we are again.
EQUIPMENT: This is simple. Everybody gets a submachine gun and plenty of ammo, and a shitload of grenades. Pass out all your remaining Mills bombs, they're of no use in any of the remaining missions in this campaign so you might as well use them up. Potato mashers are good too.
However, if you really want to maintain full consistency with the story development, strictly speaking everybody should carry whatever weapons they're going to be using in the next mission. This has no practical effect on play, since you'll only be using the buzzguns, but it's just something you might want to do for your own extra satisfaction. In that case, again, study the walkthrough for the next mission first.
One man has to have some weight capacity to spare, because he's going to be picking up a machine gun.
AT THE START: You're all standing in Steiner's office. He's about to do you.
PROCEDURE: As soon as the mission starts, Steiner sets off the alarm and makes a break for it. Naturally you shoot him. (This will be registered as a "civilian death" but ballocks to that.)
The next bit is easy enough but just for added safety use the map to make everybody lie down or kneel (depending on their location) and set Guard commands at the office doorway. Drop to a crouch yourself and watch the door. Don't move, you're fine where you are.
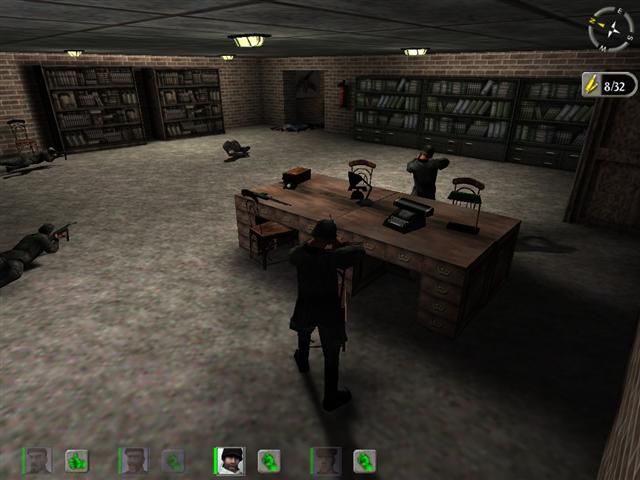
In a minute or so Germans are going to start rushing in the office door. Three of them, running in one by one, and of course getting shot down; this part is so easy it's ridiculous.
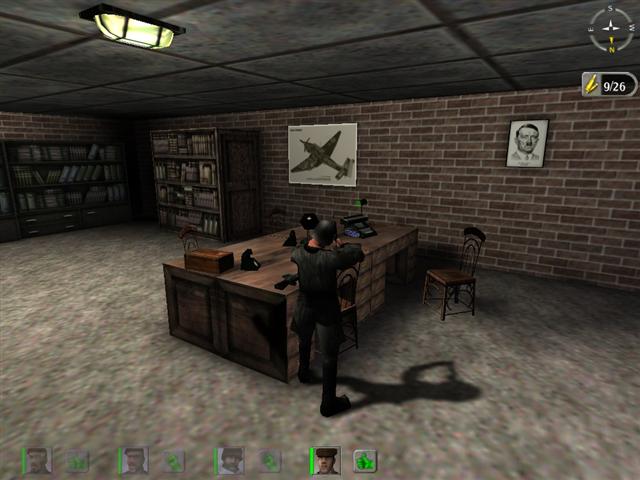
After the third death-wish case is down, somebody - whoever's got the load capacity - should collar that nice machine gun lying on Steiner's desk top. Just grab it, don't even think about using it, it's not suited for this mission but you'll have a chance to use it later on in this campaign. You may even pause to admire the drawings of V-1 buzz bombs (interesting since this is supposed to be a production center for V-2s) placed here and there about the room. Unless of course you still haven't de-censored the game, in which case I'm starting to lose patience with you.
Now you need to move everybody out into the outside room of the office. You could use the map, but there are hazards out there and it's better to keep control so that they can respond to threats.
So move your character over by the door and then lie down and crawl out into the outer office, keeping a watchful eye on the outer door. Quite often it happens that a fourth German comes bursting in that way, and you'll need to be quick and nail him. Once he's down there shouldn't be any more direct frontal attacks.
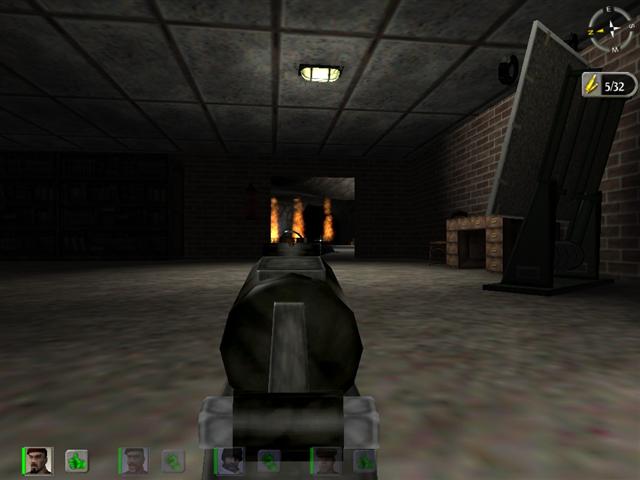
Here is where it gets high-risk if you don't do it right. The obvious approach is to have everybody move up to the doorway where they can fire out into the shipping area. NO. Do that and there'll be a regular shitstorm of fire coming in that door. It's going to be necessary to fire out through it, but only in a very controlled and careful way.
Move yourself over close to the east wall, where you're out of the line of fire of guards shooting in through the doorway; but stay far enough outinto the room that you can fire through the door at an angle, in a southeast direction. You may be able to get at least a few in this way. Look for trucks and blow them up; the explosions often will take out men who happen to be close by.
Leave yourself in position, using the map to give yourself a Guard command through that doorway, and go back and collect the next man and move him out to a position beside you; and so on until all of you are out there lying side by side, weapons pointing at the doorway opening. The man on the right should have a shot at another truck or two; have him blow them up.
Now move yourself back and around, past your men, closer to the middle of the room. The heaviest fire will be coming from the eastern end of the building. Don't expose yourself or anyone else to it for any length of time. Move sidewise a bit and shoot any moving targets and roll back to your left and reload. Try not to let the clip run dry, because you can't move while reloading. Shuttle sidewise again, farther this time, and fire and duck back to the left. Keep this up for a few repetitions. Don't worry about having a target, just lay as much lead as you can on that area at the eastern end. There are some barrels and boxes down that way that will explode magnificently if you hit them, and in the process take out most of the guards in the area.
(That's most. There's a tendency to assume nothing could have survived down that way. It's not necessarily so. Continue to comb the area with full-auto fire until you're sure nothing is coming back at you.)
Shoot up any vehicles, and the ever-popular exploding barrels. Blow everything up, set everything on fire that you can, because chances are it'll take some Germans out too or at least spread alarm and despondency.
You can also begin moving your other people out more into the middle of the floor and give them a wider area to shoot at. Be cautious. If they get hit from straight ahead while in the prone position, they will almost certainly die.
When you're pretty sure you've neutralized the opposition for the moment, it's time to move out of the office. Do this yourself, at a crawl. Just creep out through the office door, moving very carefully and checking in all directions; keep a sharp eye out to your right, there may be a guard over there in the shadows. You're just trying to get out the door and over to one side; it doesn't matter where you go, really, just anywhere, not too far.
Now use the map to have one person - anybody, that doesn't matter either - move out the door to some point somewhere near you. And brace yourself.
This is the trigger, when the second person moves out of that office. At that instant all hell, to coin an original phrase, breaks loose. There is a gigantic explosion and pieces of the roof fall down. You're not in any danger as long as you're fairly close to the office. But this is why you must not go out there wandering around by yourself without bringing somebody out of the office first.
(This is not totally predictable. Once I had it blow while I was the only one out the door. So be ready; move over to the side and don't go toward the middle of the building.)
Now you will be asking yourself, "What the hell was that all about?" or words to that effect. Why did the place suddenly blow up? It wasn't because your fire set off the explosives at the shed; nobody was shooting at all. And why would the Germans blow their own place up?
There are several theories. The most logical is that they did it to destroy any secret stuff lying around. This isn't the main production center, after all, just the shipping and loading area, so it's not going to be a huge loss if it's demolished; it can be repaired easily enough. But it wouldn't do for a bunch of Allied commandos to get a look at the missiles or their components. Of course that ignores the schematics hanging in the office, which you feel you should be taking with you but there's no way to do it....
Then again maybe the idea is that the fires you set finally reached the explosives, and it just happens to go off as your second person comes out the door.
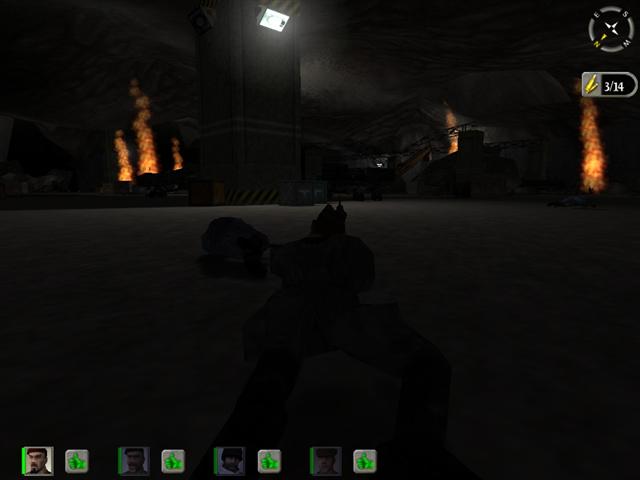
Anyway, after the racket settles down you can bring everybody else out. It is darker than two feet up an elephant's ass but after a moment you'll see that there's still quite a bit of light out in the middle of the floor. You can add some illumination by looking around for inflammable targets - metal barrels, vehicles if any have survived - and shooting them up. Might as well do that anyway, deny the surviving Krauts that much cover.
All you have to do from this point on is move over to the exit, which is located at the southeast corner - you're going to need to use the map and the compass, it's very easy to get disoriented in here - and for most of the way that's pretty easy. Pause every time you see a bunch of fuel barrels or anything else promising and try to get yourself another explosion. Use the wrecked vehicles and the roof supports for cover. You won't run into any real opposition for most of the way, though. But you might meet up with one or two stragglers so keep everybody ready and move them one at a time from cover to cover.
However, as you start to get close to the exit, you've got a serious problem. There's a pair of wicked little shitheads by the exit, and they're hidden by a lot of boxes and barrels and railroad cars; and they run back and forth so it's hard to pin them down. The poor light doesn't help, either. You can try grenading them but you probably won't have much luck unless you score a direct hit, which is unlikely.
About all you can do is move your people one by one into positions where they can cover that area, and try to smoke them out. One possibility is to move back westward a way and go around the end of the string of railroad cars - or climb over the flats - and try to take the guards from the flank. This is pretty risky if both of them are still alive, but if you get one of them it might be a way to nail the other one.
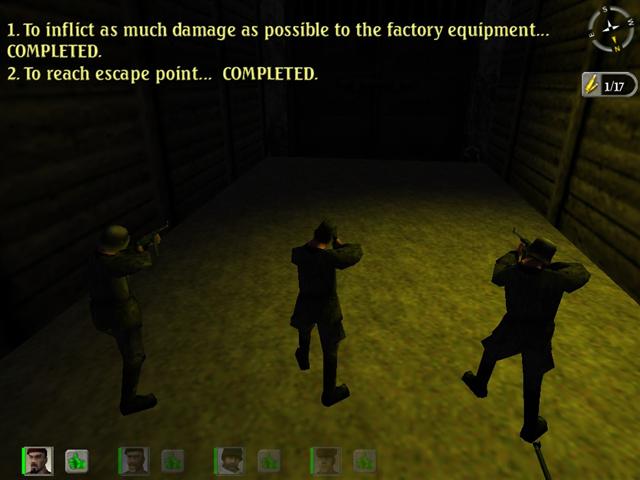
When these two are eliminated all you have to do is give a follow-me and march up to the exit. Which turns out to be the beginning of a tunnel, at the end of which is a big door. The completion message comes on just as you're wondering what's on the other side.
You're about to find out.