That Night Life Ain't No Good Life
This mission makes no more sense than the previous one. There is never any real explanation of why it is necessary to stop the convoy or, even more mysterious, why it is so important that not even a single German should escape.
Even putting that aside, the opening part makes no sense at all. You spent the whole afternoon taking control of the town and the supply center and eliminating all resistance. So how the hell did those vehicles get there? Why didn't you nail them on the way in, on the road or the street, while they were vulnerable - ambush them with Panzerfausts and blow them up along with their occupants? Why let them drive up and unload and take up defensive positions? It's crazy. Most of these missions have some element that depends on the Germans acting like idiots, but in this case the premise depends on you being a damn fool.
Once you get past that, though, and as long as you ignore the asinine premises, it's a pretty entertaining little mission. The action doesn't last long but it's fairly intense; and while it's not terribly hard, it's not walkover easy either. You don't get much slack; you get it right or it fails.
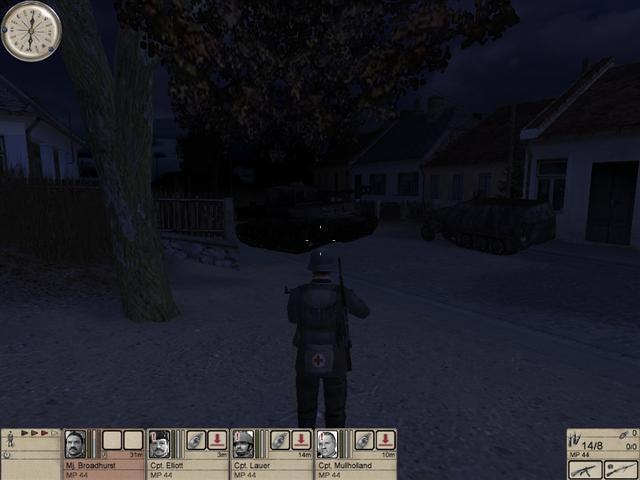
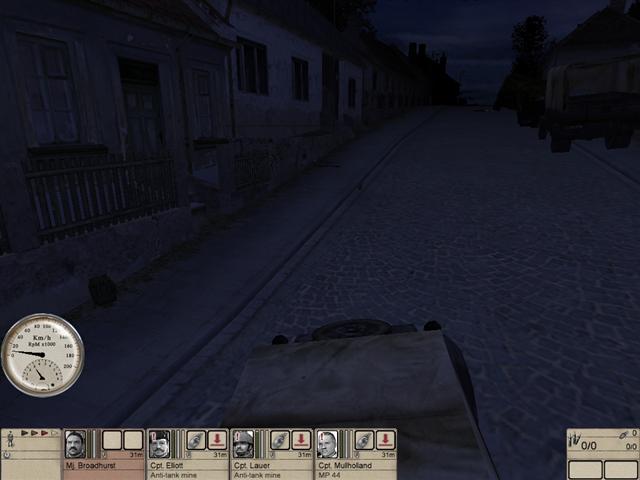
Same town, only now it's dark. Thunder rumbling, sounds like it's going to rain, but it never does.
Eliminate the Germans already in town, stop and eliminate the ones about to arrive, and do not let even one reach the escape point.
The "escape" business isn't made clear. The so-called escape area consists of the west end of that main east-west road along the south side of town. It doesn't begin out at the end of the road, past that sentry box, though you might get that idea from the briefing. Basically it's the whole last block on that road, as you're going west. If one man succeeds in reaching that stretch of the street alive, the mission fails.
This mission is in two parts, and it is important to understand the trigger for the second part. Basically the trigger zone is the southeast quarter of the town, but you'll need to know more precisely than that. You might want to print this out and compare it with the map.
There are four places you have to watch out for:
(1) Along that main east-west road where the previous mission began, toward the east end. The trigger line runs across the street roughly even with where that dirt lane turns off to go up to those buildings where you found the treasure in the last mission.
(2) On that street that runs north-south along the east side of town, heading south from the northeast corner area - the "pond" - don't go beyond the first corner; the trigger line is just a little way farther south.
(3) Remember that dirt lane with the arches, where you had the shootouts? Stay out of there until you're ready to trigger. The line is somewhere between the point where the dirt lane connects with that paved side street, and the northernmost arch.
(4) That steep dirt path that runs down the hill from beside the church, to that dirt area between the arches - stay off it completely. There's a trigger line somewhere along it, I'm not sure of the exact spot. Just stay off any dirt path or alley for now.
As soon as you cross any of these points, the second part of the mission will kick in. And you definitely don't want that to happen until you're ready, so watch out.
Finally, as in the previous mission, the behavior of the enemy AIs can't be reliably predicted, so be prepared to do some improvising. This is just based on an average of the times I've run the mission. Your mileage, as they say, may vary.
You start this one with your guys deployed all wrong. Bring them back toward where you're standing, and deploy them to cover the area past the corner to your right. Yes, you're setting up for the good old bait-and-ambush play, though this time it gives only half-assed results.
Dump your backpack and wait, but don't go boogying down that street playing Invisible Man; this time for some reason it doesn't work - there's this one German down by those trucks who will shoot at you even though your disguise is showing 100%. Some kind of bug no doubt.
Instead move one man with a sniper rifle across the street to the far side. This could be your sniper, or if you took one of those scoped Mausers in the last mission then you might want to have somebody else do it. In any case move the sniper down the sidewalk, staying over to the left, until it's possible to make out the outline of a man - any man - up ahead near those trucks. Shoot him, or just shoot at him, it isn't that important whether you hit him.
Move back into the nearest cover and wait. A couple of Germans will eventually come chugging up the street, in a not very fanatical manner, and get shot down. Probably there won't be more, but wait a minute to make sure.
Bring the rest of the team out onto the street now, facing down the hill. Move the sniper closer and try to pick off more of the bad guys. Put a few rounds into the nearest truck so it blows up; the explosion often takes out one or more bystanders.
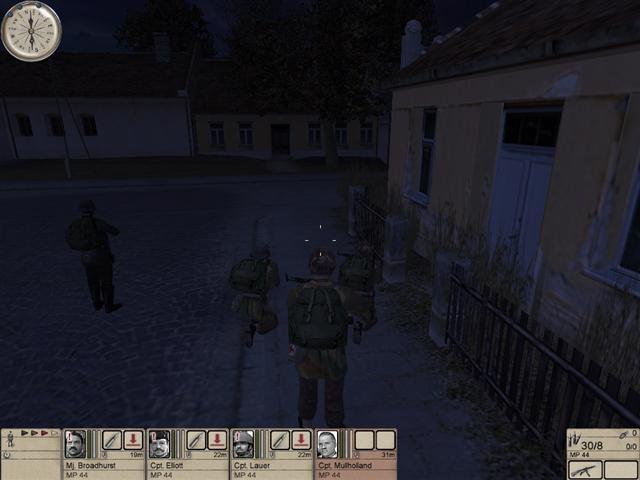
Move the team gradually down the street, stopping to fire when anybody spots a German. Let the sniper snipe some more; use his scope to see what's happening. When things appear to be mostly clear, #1 can go on down the street now and scout around a bit. Look for sentries in the alley or farther down the hill.
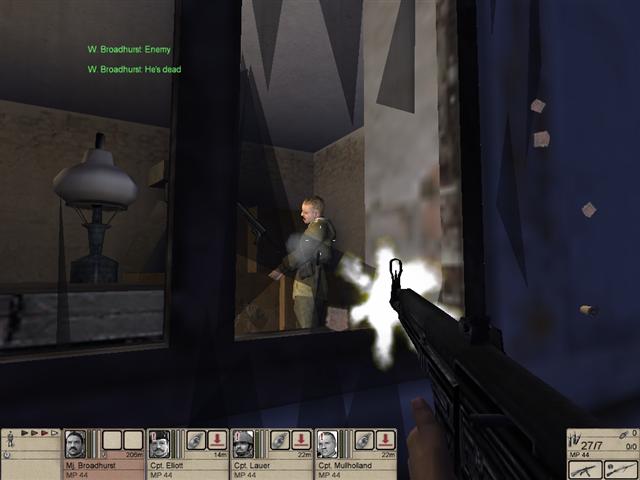
Go up the alley and look through the windows on your left and you'll see this one son of a bitch standing alone in a supply room. You know what to do.
Count the stiffs. I make it an even dozen on the street and in the building. If you don't have that many you need to have a look around. Go back into that courtyard area by the supply room, where you blew up those barrels in the last mission. There might be one or two skulking around back there. Go over the premises with the meticulous care of a suspicious wife checking her husband's suit for blond hairs, and in the same bloody-minded spirit.
The next part is incredibly tedious but I've never found any way around it.
Go back up and collect your backpack. Line your men up on one side of the street, near the trucks, so you can keep them straight. As #1, go up to one of the lads - preferably the one who's carrying the least just now - and give him the entire contents of your backpack and belt pouches. Dump the pack again; it doesn't matter where, you're done with it. Pick a spot you'll remember and ditch your weapon.
There is a supply box at the rear of one of the trucks. It contains a number of things of interest, but the first one you'll take is the German backpack. Now, at last, you can operate in diguise without having to stop and dick around with that damn pack.
(Be prepared for some frustrating times with that supply box; it's difficult to get it to activate, because "vehicle" keeps blocking it out. You may even have to lie down and crawl up to it to get the supply box use frame. Persevere; this is stuff you gotta have.)
Now load up on antitank mines. You can carry three, if you got rid of everything else. When you've got them, run down and hop into that Kubelwagen. Or you could use one of the undamaged trucks, but the Kubelwagen is a trifle handier.
Have each of the other men in turn stash all the contents of his belt pouches in his backpack, and dump the backpack and his weapon(s). Two men should of course already be carrying antitank mines from the last mission, and these will be stowed in belt pouches first. Load them all into the Kubelwagen and start up.
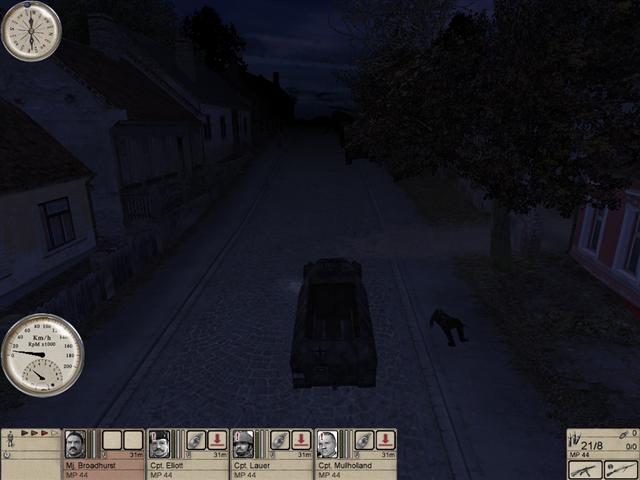
If you're a Hidden & Dangerous veteran you're going to be very disappointed now. This Kubelwagen isn't nearly as much fun to drive as the HD version; it's cranky as hell in fact, and always seems to be in too high or too low a gear; you'll quickly learn to hate it. Drive it on up the hill and turn left and motor on south along that road on the west side of town, the one that splits in two in the middle. Actually you could go up past the church instead, but this is easier; that thing doesn't corner worth a damn.
Turn left again at the bottom of the hill and slow down. Drive up by that iron gate where you did some of your early shooting in the last mission, and park the Kubelwagen. Get out, leaving the others aboard for now.
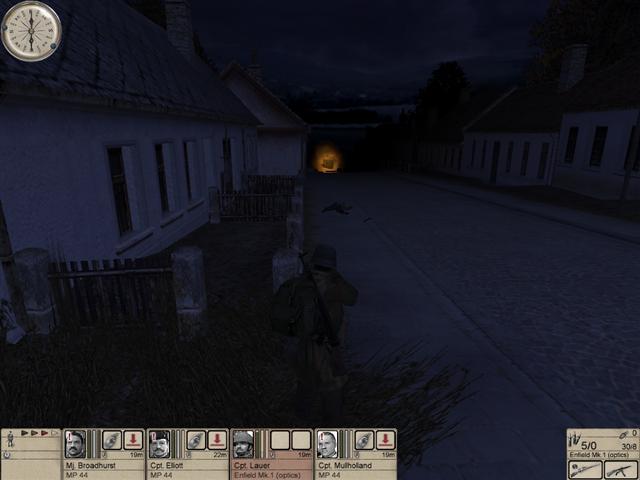
Walk, don't run, on down the street, heading eastward. Stop at the corner of that street that runs up to the church, and then proceed forward very cautiously. You're getting close to a trigger line and you absolutely do not want to cross it.
Go on over to the corner, past that tree. Just beyond, there's a white house on your left, with a little fence along the front. It's OK, you can go this far; the trigger line is farther on, by where that dirt road turns off to the right.
A few steps past the end of the fence, step out into the street and start laying mines. Start at the curb and lay them one sidewise step apart. You're not going to try to lay them clear across the street; you're after a big tank and as long as you cover about half of the street one of the treads will hit a mine.
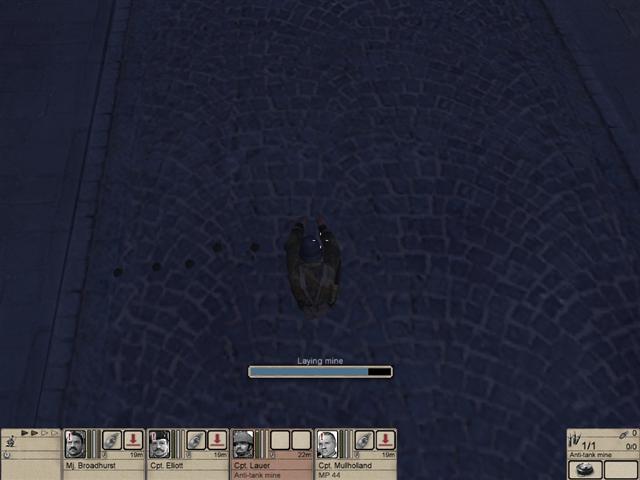
Go back and get back into the Kubelwagen and move another man up to lay his mines next to yours, and so on until the mines are strung out more or less evenly to the middle of the road. I usually put one or two on the sidewalk as well; I've never known that tank to come up on the sidewalk yet but it's cheap insurance.
Now you can drive everybody back to the supply point and have them recover their packs and weapons, and restock their belt pouches.
There's one more little job you need to do before moving on to the next phase. You can do it by yourself, as #1. Run on down the hill below the supply depot, toward the northeast corner. In that little area marked on the map as the "pond", there's a German walking back and forth and another one holed up behind a board fence. Go around the corner of the last building, staying close up against the wall, but don't go too far; just far enough to locate the walker - not very easy, the weeds are so high - and shoot him. Let the disguise recharge and then go on down around the end of the fence and shoot the other one.
You'll see that these two were guarding a halftrack. Why the hell it was parked here instead of up the hill with the rest, only God knows and He isn't telling, but there it is. Don't get your hopes up; it's unarmed, not even a single machine gun.
Get in, all the same, and drive it out of there and on up the hill to the supply point. Move the Kubelwagen out of the way if necessary, make sure the men are well back out of the street, and get out and hand the keys to a good steady shooter whom you know you can rely on; he's going to have an absolutely vital job in the next phase.
Have him drive the halftrack on up the hill and around by the west road, just as you did with the Kubelwagen. The halftrack actually handles better than the smaller vehicle, though it's still no sports car. Drive along the right side of the street and stop just before you get to where you laid those mines, and park the track by the right curb. The idea is to help make sure the tank stays over to its right so it hits the mines; I really don't know how much difference it makes but what the hell, you might as well do something with the vehicle.
Now this man runs back along the road to that little set-back alcove-like area on the south side, by that iron gate. He needs to really hug the wall on his right, and stay well back off the street; he's going to be in a very vulnerable spot at best.

His job is going to be to ambush any Germans coming up that street toward the escape area. Since the escape area begins only a short way to his left, he won't have much room for error; which is why I said pick a reliable man.
Take your other two team men down the hill from the supply center and turn right at the next corner, and up along that street to where it joins that dirt lane. Turn left and station them alongside that building, covering the intersection to the east. Sometimes some Germans come along that street down there and this is the best place to stop them.
(However, you might want to use just one man at this spot, and put the other one somewhere on the south side, as backup for your man covering the escape route. Either way it's a gamble; you'll have to call it.)
When you've got everybody deployed, all weapons fully loaded, everything in readiness, move your own heroic ass down the hill and up that side street to the end of that dirt lane; and then, if you'll take my advice, save. My God, you don't want to go through all that dreary business with the mines and playing Musical Backpacks and all that again, do you?
And it's very possible you will, if you don't save at this point, because the next part gets pretty dicey. You may well discover that you need to make some changes in your defensive arrangements. Hell of a thing to have to go through all that shit again just to move one man a couple of feet, huh?
All right, you've saved, you're ready, let's do it to it.
Run up that dirt lane, through both arches and on almost to the end. As you near the south end you'll probably see a German appear in the mouth of the lane up ahead. Don't try to shoot him; just take cover - there's a spot over on your left where you can hide in an angle of the wall - and wait. You can use third person to watch him; he'll probably leave in a few seconds.
By now you'll be hearing a familiar rumble as the tank moves on up the hill. As you move on toward the mouth of the lane, you should hear a satisfying explosion as it hits your little minefield.
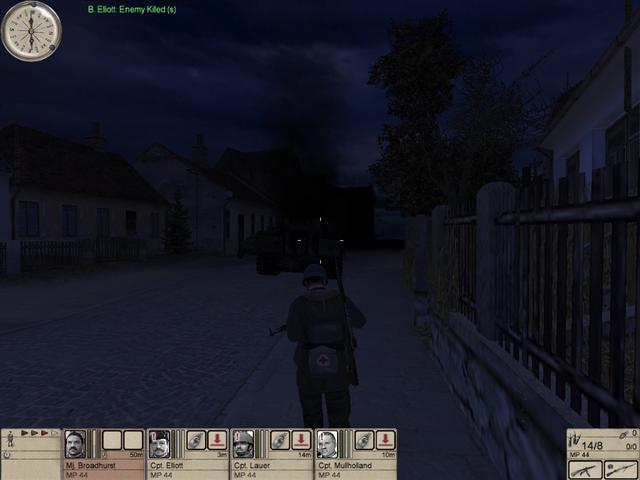
Go on out into the street and turn left. OK, first you're going to look up the hill to the right to see the smoking ruin of the tank, you can't resist that, who could? But then turn left and run back down the hill, along the sidewalk. You should meet a single German coming toward you. Shoot him and then turn and head back up the hill as fast as you can. By this time your man up the road will be engaged, as some Germans try to reach the escape point, and if you're quick maybe you can get there in time to help him.
If one of them does get past him, you'll get a weird little cut scene and then Mission Failed; and then you'll have to figure what you did wrong. Maybe you should have put two men there, or used a different man. Whatever; figure it out before you reload the game.
But if that doesn't happen fairly soon, you can assume the immediate risk in this area is over. Either way, it won't take long.
All the same, since you're in the area anyway, take the time to do a quick but thorough search for Germans who might somehow have evaded him. Try up by the church; a couple of times I've had them run up the hill to the area around the church rather than try for the escape point. The chances aren't high, but it doesn't take all that long to check.
In any case you're not out of the woods yet. There are still entirely too many Germans running around loose and you have to do something about them.
At some point during all this you may have heard from the guys you left back there on the east side. They may have been pretty heavily engaged; in fact if they saw any action at all it will have been intense. You may even have lost one of them; at least it's very likely they'll need to stick on some bandages before proceeding. And then again it's at least equally possible that they never fired a shot or got fired at.
Either way, pull them out of there and bring them along that dirt lane to the main road on the south side, then to the left and down the hill almost to the next corner. Not too far; there's a truckload of Germans just around that corner. Bring your own character down from wherever you left him to join them. Probably you should leave your bloke back up the road, just for insurance.
Now we need one man with a sniper rifle, either your regular sniper or someone who picked up a scoped Mauser in the last mission. (Plenty of ammo lying around the streets by now, if needed.) Take him back up the hill to those steps and -
Yes. You're seeing it, aren't you? You've got basically the same situation that you had in the previous mission, at that same corner, and you're going to handle in in the same way. The bad guys are more numerous this time, but on the other hand it's dark, harder for them to spot the sniper.
Just as you did before, move your rifleman up the steps and over the fence and down along the slope to the top of the retaining wall, and then along parallel to the road, watching that intersection. Spotting your targets will be a bit harder now, so take your time; use the angle of the street corner to avoid exposing yourself to too many of them at first. Pick off the ones you can see, one by one, and move on along till you can see some more of them.
At some point one or two of them probably will rush down to the corner and get cut down by your waiting shooters. How many, and how aggressive they'll be, I can't tell you; this is one of those unpredictable points in the game.
When the sniper up on the wall can't see any more targets, #1 can go around the corner long enough to reconnoiter, though he shouldn't get involved in any shootouts; the odds are still too bad for that. Bring the sniper down off the wall and move him up to the nearest corner and let him try again to find some targets. Do all you can to reduce the enemy's numbers at long range before closing in.
When you feel you're ready for the kill, give a Follow Me and lead the way up the street, going slow and watching for the enemy. Check that little dirt path to the right; sometimes they hole up in there.
You've definitely got somebody not accounted for, if the mission's still running; because as soon as you kill the last one you get completion. So work your way along that street, and if you can't find any survivors then you'll have to do a systematic search of the town. Try up by the church; if that doesn't work then you'll just have to do a street by street search. Before you do that, though, post the rest of the team down there covering the approach to the escape area, in case the son of a bitch tries to make a run for it.
When you do get the last one, you'll know right away. And then there's only to go.