Fire In The Hole
A very difficult mission. Not much fun, either, unless you have really weird tastes in light amusement. Grim, gritty, scary. One of the hardest missions in the game; very high chance of losing men.
High hill rising above tall-grass plain. Japanese machine gun bunkers near top of hill, covering all sides, linked by complex of tunnels.
After leaving the jungle the team has hooked up with some "Allied" troops (British-style helmets and hats, but officer in cut scene speaks American English) about to assault the hill. Our Heroic Leader volunteers the team to assist in the attack, ignoring mutters of, "Shut up, you mad bugger!" Mission is to take control of the hilltop defenses by killing everybody in the bunkers and tunnels.
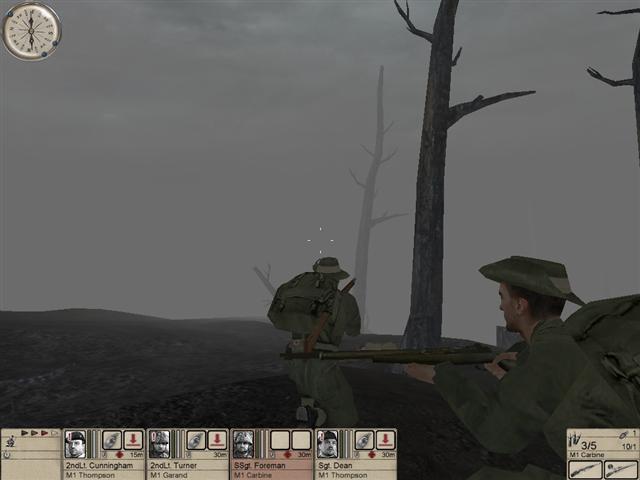
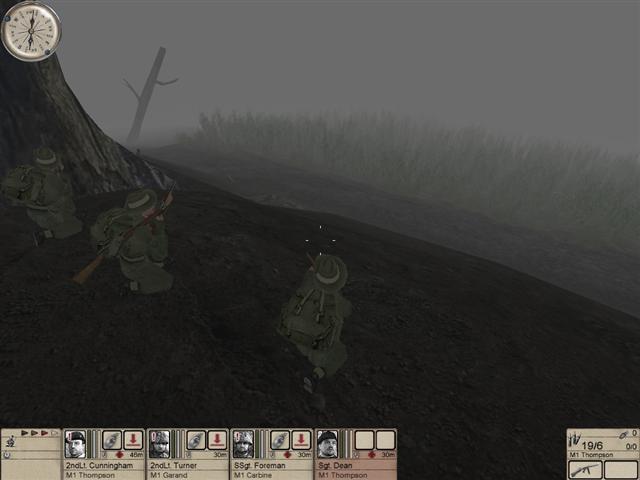
When the mission starts you're all standing in ass-high grass with a bunch of "Allies" running around. Give the Fire At Will command and then Follow Me, and move out behind the tank that's heading up the hill. Don't get too close behind it; for one thing it gets shot at and for another it occasionally backs up. Don't get in a hurry, either. The tank and the infantry up ahead will take out most of the opposition in this area. No need to be heroes; you'll get your chance at that soon enough.
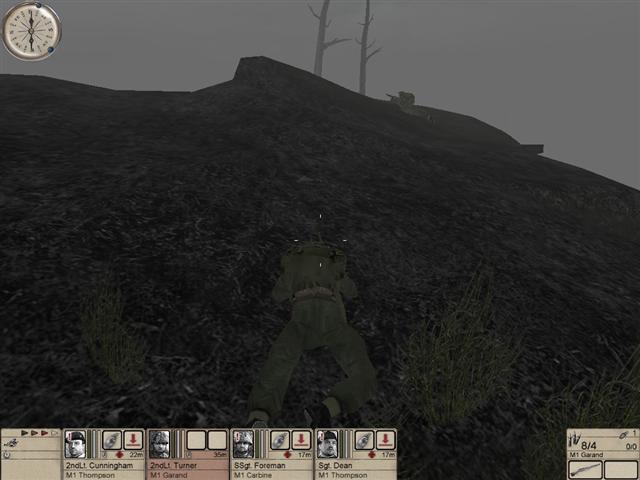
Follow the tank as it moves more or less northward. Check the map frequently. As you start to approach the spot marked "10" on the map, slow down and let the tank move farther ahead; keep it in sight but no more, because it's about to get blown up.
When it does, move to the left - not far, just a little, there are minefields a short way to westward - staying down in a crouch. You'll see a low gray rock outcrop, a kind of mini-cliff just a few feet high. Hit the deck and get down under the cover of this; the rock will shelter you from the machine guns firing down the slope.
Make sure everybody is well under cover and then crawl on down to the far end of the rock outcrop. From there crawl north and then northeast and then east-northeast, heading toward the top of the hill. There's a narrow safe zone between the fields of fire of the two nearest machine guns. On the map you'll see a spot marked "14" between the two machine gun bunkers. That's what you should be aiming for.
Watch out as you crawl through the grass; there's probably at least one bad guy up ahead. He's hard to see in the tall grass so move cautiously and use your third-person view to check ahead.
As you approach the top you'll come to the end of the grass; the top of the hill is bare and torn up from shellfire. By this time you should be just short of that "14" spot. Angle a little more to the right, now, climbing up on top of the bunker marked "4" on the map. In front of you is a kind of knob or hump; don't go over it. As you'll see if you go to third person view, there's a Japanese rifleman to the north and another one, or maybe two, to the east. Stay down where they can't see you, or you them. Make sure your man is far enough down out of sight that he won't start anything.
Now go back and collect the other men and bring them up by the same route, one by one, and assemble them in that same area above bunker #4, all of them down out of sight. Arrange them so that two of them are facing north and two to the east.
Pull up the tactical map and assign each man a command to move forward just a short distance; just enough to bring him into sight of the enemy, without standing up or exposing himself unnecessarily. When you fold the map, if you've done this right and if you've picked some good men, they'll shoot it out with the bad guys and the bad guys will lose.
Once you've cleaned the hilltop, get everybody up onto that hump fast, where they can cover the area on top. It's possible, though not highly probable, that somebody may pop out of one of the trapdoors nearby, and you want to be ready to explain what a bad idea that was.
At this point you might want to save. From here on it gets difficult and you probably don't want to repeat that tedious climb up the hill again.
The tunnels and bunkers are accessible only through the trap doors. There are three on top of the hill and one farther down the slope. And here it becomes impossible to tell you what to do next, because the game gets very unpredictable and random in this respect.
The problem is that not all the hatches are necessarily accessible at first. Sometimes you can just go over and open any of them, at any time; but just as often you find that some of them won't open. In fact it's very possible you'll discover that only one can be opened to start with, and the others only in a certain order.
Occasionally, as mentioned above, somebody will open a hatch from below and climb out. If that happens, then as soon as you've shot him get over to that hatch and begin operations there. Don't screw around, because in a moment the hatch may slam shut again, all by itself, and then be impossible to open again. This can also happen with the hatches that you open yourself. Oh, I'm telling you, those things can drive you crazy.
(Important Note: Don't let anybody step on a closed trapdoor. Sometimes when you do this a weird bug kicks in; the man becomes trapped, unable to climb up or down, and then there's not a damn thing you can do but reload and start again from the last save.)
I'm going to assume that you've gotten lucky: this time, all the hatches are openable at will. I'll take the walkthrough from there. If you find you can't get into them in the order I've given, you'll have to make the necessary adjustments to the instructions. Sorry, but it's the best I can do.
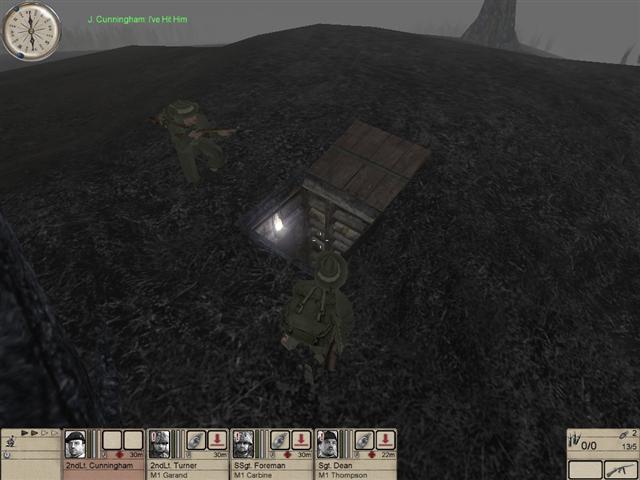
Whoever is going to be the Designated Tunnel Rat should now move several grenades to his belt pouches. Make sure his weapon is fully loaded (the Thompson is by far the best choice for this); he should be carrying the big medical kit. Have him take out a grenade in his hand and move over to the first trap door. Another man should come along for cover in case somebody suddenly comes up through the hatch.
The trap door at the north side of the hilltop is as good a place as any to start, if it will open. Crouch down, get close enough to interact with it, and then hit the Use key to open it. If/when it opens, use a short underhand toss to drop a grenade down the hatch. Back up quickly because if you're too close the game may decide you got killed by the blast too. Get out another grenade right away.
(The tunnel at the bottom of this particular hole slants down to the west. So if you'll grenade it from the east side, the grenades will tend to roll down deeper into the position and do more damage.)
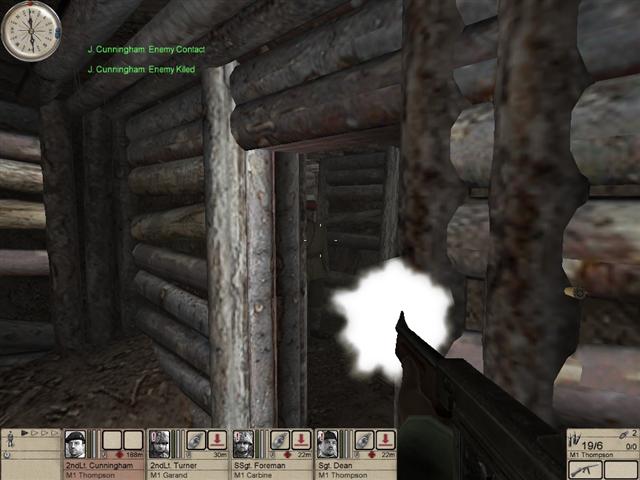
You'll probably hear some outcries in Japanese and then a boom. Almost certainly you'll see a "I've killed him" chat message. Wait a second or two and then drop in another one. Repeat. Three grenades should be plenty. Get out the Thompson and move to the hole and go down the ladder, fast.
Leave your tunnel rat for a moment and go back and move the backup man back to join the others on top of the hump. They'll be fairly safe there as long as they don't wander around, but the slopes below are still alive with the enemy and if they show themselves in the wrong spot they're liable to be attacked.
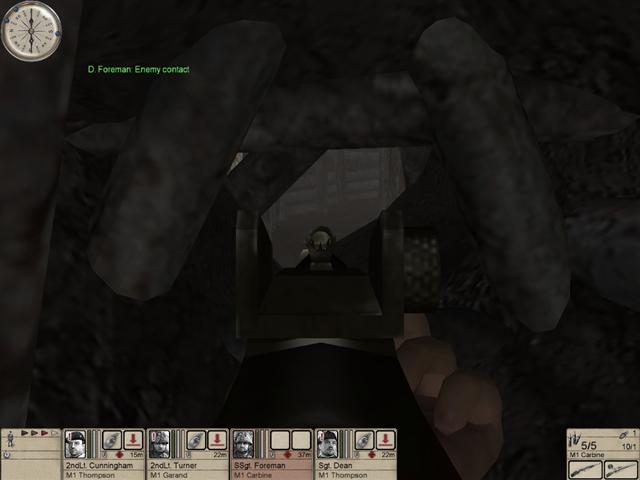
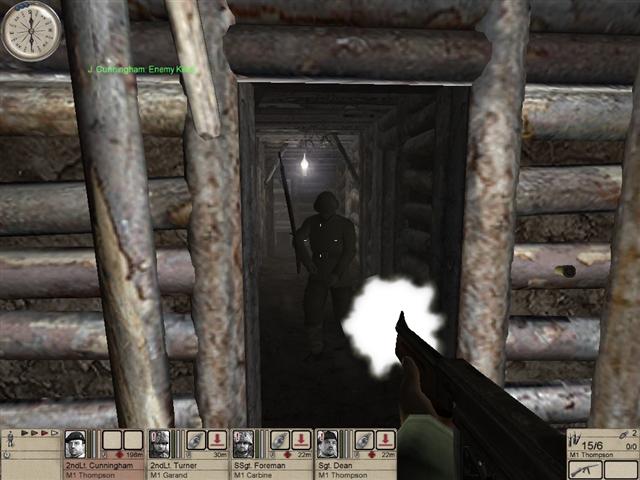
Back in the tunnel, move down the slope and turn right. Up ahead there's a T as you reach the main tunnel. Bounce a grenade down the right leg; there's probably somebody down there. Go on around the corner and down the right leg of the tunnel and you'll see up ahead a dirt bank with a small hole in it and light shining through. Move up to the hole and you can just barely make out the head of a man on the other side. Take careful aim and kill him.
To your left is an unoccupied room with a machine gun. If you go in there some guys will come charging up the hill. You can take over the machine gun and get one or two of them, but you can get hit in the process, and any that get by you will make trouble for your lads on top of the hill. Best just to stay out of there. As far as I can tell if you don't go in that room at all the attack doesn't come.
Back up the way you came, now, past where you came in, down the other leg of the main tunnel, which immediately turns hard left and opens into an empty room. On the far side is a doorway to another room, also empty. Go through that and toward the door on your left.
Reload and run into the next room and turn to face the door on your right, looking down a short tunnel. Wait. A rifleman will come out of the room on the right side of the tunnel, toward you. You'll have to be pretty quick to kill him before he can get off a shot.
Now wait. There's another one in the room on the left side of the tunnel. Sometimes he comes out and charges you too. Give him a chance.
If he doesn't come in a few seconds, go on down the tunnel, in silent mode again, and step sidewise past the door on the left and shoot him. It's not too risky; he's not very fast.
Now you might as well move into that room and take shelter for a moment. Reload the Thompson and then switch back to one of the men on the hilltop - any one, doesn't matter as long as he's got a few grenades. Run him over to the nearest trap door - it's on the south side of the hilltop, near the hump, you can find it by the map. You'll see by the map that your tunnel man is quite close by.
Get a grenade ready, open the hatch if it will open, and toss in a little present. Wait a moment and add a second, even a third if you like. You've just made life a little easier on your tunnel rat. (If you couldn't get the hatch open, no big deal, he can do the job with gunfire instead.)
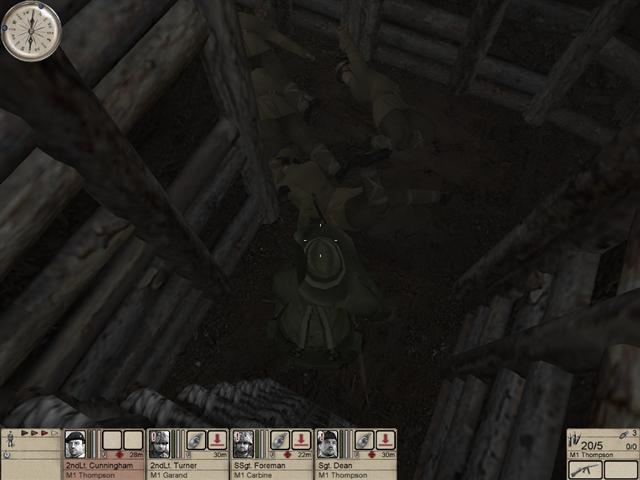
Back downstairs, move back into the tunnel and on toward the bend ahead, staying against the right wall. There should be some bodies in the tunnel leg off to your left. If there are three, cool. If there are only two, then watch that doorway ahead. Get over into that little angle of the outside corner of the tunnel, and watch the doorway. An officer with a pistol may come slinking through there in a minute and you can hand him a .45-caliber ticket to Yasukune Shrine.
One to go. In silent mode again, go through that doorway and you'll see doors on your left and right. The one on the left is the one you want. Beyond it is a room with a single rifleman. If you move quietly you should be able to get him before he even gets his finger out to shoot at you.
Now you can go on up the tunnel past those bodies to that ladder, and up it and through the hatch and out into the fresh air.
The other part of the tunnel system has only one entrance. It's over to the east, next to that leaning broken-off tree; use the map if necessary to find it. Same procedure as before: take your backup man and have him cover the hatch from one side, get a grenade ready, open the hatch and toss the grenade in. Step back until it goes off, get another one out, move up and toss it in; lather, rinse, repeat. Put at least three grenades into this one, and four wouldn't be unreasonable. The bad guys tend to bunch up in this area and because of that, and the layout of the tunnels, you can really get a lot of them in this way - as you'll see when you go down the ladder.
At the bottom of the ladder go to the left, moving silently, and stop before the next corner. In a moment a rifleman will come out of the tunnel on the right and if you're quick you can get him before he knows you're there.
At this point leave your tunnel rat where he is and go back to the men up top and move them over to the north side of the hilltop, near that big tree that hangs out over the northwest slope. Put them in position to cover the hillside below; now and then an attack develops from that direction for no apparent reason. Anyway this is close to the escape point and they might as well be waiting there.
Back in the tunnel, step over your latest victim and down the tunnel and follow it as it starts to curve to the left. On the right are unoccupied rooms with machine gun positions. Stay out of those rooms; don't even stand in the doorways. If you enter them you will trigger attacks on your men up on top. The attackers may also fire through the machine gun ports at you. The hell with that; just stay out. There's nothing and nobody in there that you need to be concerned about.
Up ahead, now, you'll see a dirt bank with a hole in it, and a dead man lying nearby. Yes, that's the one you shot through that hole; on the other side is the tunnel system you already cleared out.
Just before that the tunnel makes a 90-degree bend to the left. Stop before you get there. You've just reached a very nasty spot. You can finish this mission in the next few minutes, or you can get your ass shot off even faster.
Stop and cover the opening to the left. A thoroughly nasty little prick with a rifle has almost certainly come out of one of the rooms and taken up position just around the corner. You could back off down the tunnel and try grenading him, but for some reason that doesn't usually work very well. It's not too hard just to shoot him. Just move silently at an angle to the right and you should see the muzzle of his rifle come into view. That will tell you where he is and give you an aiming point, and then you can move just a little farther and shred him.
Jump back up the tunnel and reload. The next part is very damn tricky. If you've got a save left (which you probably haven't) by all means use it now.
This is the problem: up at the far end of the tunnel to the left, in a small room behind a packing crate, is a Japanese officer. All he's got is a pistol, but he's very damn good with it - and, this being HD2 rather than reality, he can kill you with it. The crate gives him a good deal of cover, and it's too far to get a grenade up there; and because he's in a dimly lit room rather than standing in the tunnel, it's hard to see him clearly.
I only know one way to get him and that's to outshoot him. Move up against the left wall of the tunnel, close to the corner, and go into third person view so you can look around the corner and get a look at him. It may take some peering and squinting; as I say, he's not easy to see. Get a clear picture in your mind of where he is.
Then do a quick sidestep to the right and empty a Thompson clip through the upper part of that doorway. You won't have time to take careful aim so don't try; all you can do is hose him down and pray. Remember he's behind that crate, so don't shoot too low.
Once you've gotten him, there are only two targets left. One is in the room on the right side of that tunnel. He's to the left of the door as you go in, and he's only got a pistol but he's eager to use it so be quick.
The other one is in the room on the left. He's got a rifle and he's standing behind a table. You can grenade him or just shoot him.
At this point your shit sheet ought to show a success message. Actually, thanks to some mysterious bug, it may show that even before you've mopped up the last two, but if it does ignore it; you still won't get mission completed until they're dead.
Once they are, though, you've got nothing left to do but go back to the ladder and climb out of there and go join the men and lead them to the escape point just down the hill.
Note: There is one more trapdoor a little way down the hillside to the south. It only goes to a small complex of a few rooms and one bunker, and it's been smashed open by shellfire so you can enter without even using the hatch. There's almost never anybody in there by the time you get the others cleaned out; and so it's not likely you'll have any occasion to enter. However, if all the other hatchways are being impossible, you might try going down and opening it; sometimes that triggers whatever's holding the others up. Or if you can't get success to show and you're looking for stragglers you missed, you could check there.
If you do, you'll find an "allied" infantryman sitting on the ground in the smashed bunker, blubbering helplessly that he can't take it any more, he's not going any farther, this is terrible.
If you're anything like me, you'll probably reflect that this is the only sane man on the whole damn hill.